LIGHT – by Nipun Srivastava


What does it take to build the courage to put oneself out there?
Pushing hard, chasing our innermost dreams, making something out of nothing and most importantly, trying to figure out where the hell one is actually headed – all these pursuits are journeys that can take a toll even on the most hardened of people.
Emotionally, mentally and even physically, people who are change makers need to keep going beyond what their mind (and often body) is capable of. Once on such a journey, there’s no turning back. Even the mere thought of turning back, feels like one is giving up on the self.
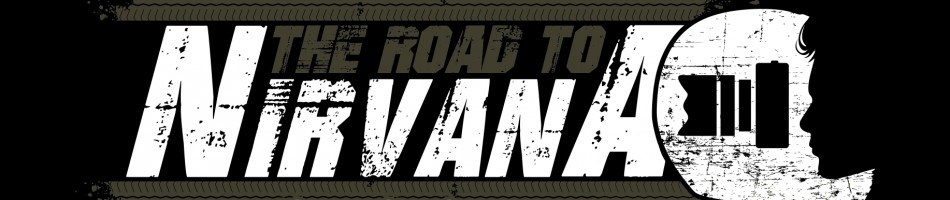
Impending Dark.
What does it take then, to keep one reassured that one is moving in the right direction? To keep the wind in ones sail? What could give one the power to cast aside all doubts and jump, open throttle, onto the proverbial playground, chasing endeavors you could only have dreamed of just a few short weeks ago?
Well, for me, it has always been the pursuit of light. For if I have light with me, I can find my way. If I have light on my side, I can blaze any trail. Go any distance, wade through the darkest of times.
Over the past five years, I have traversed over fifty thousand kilometers of geography across India. My steeds have been varied, my destinations have been numerous but my journey has been constant.

Me – 1, Inhibitions – 0.
From riding motorcycles on easy highway roads, to diving into jungle trails like it was my own swimming pool, I have always taken on the path ahead of me because the lights I have chosen for my vehicles have always had my back.

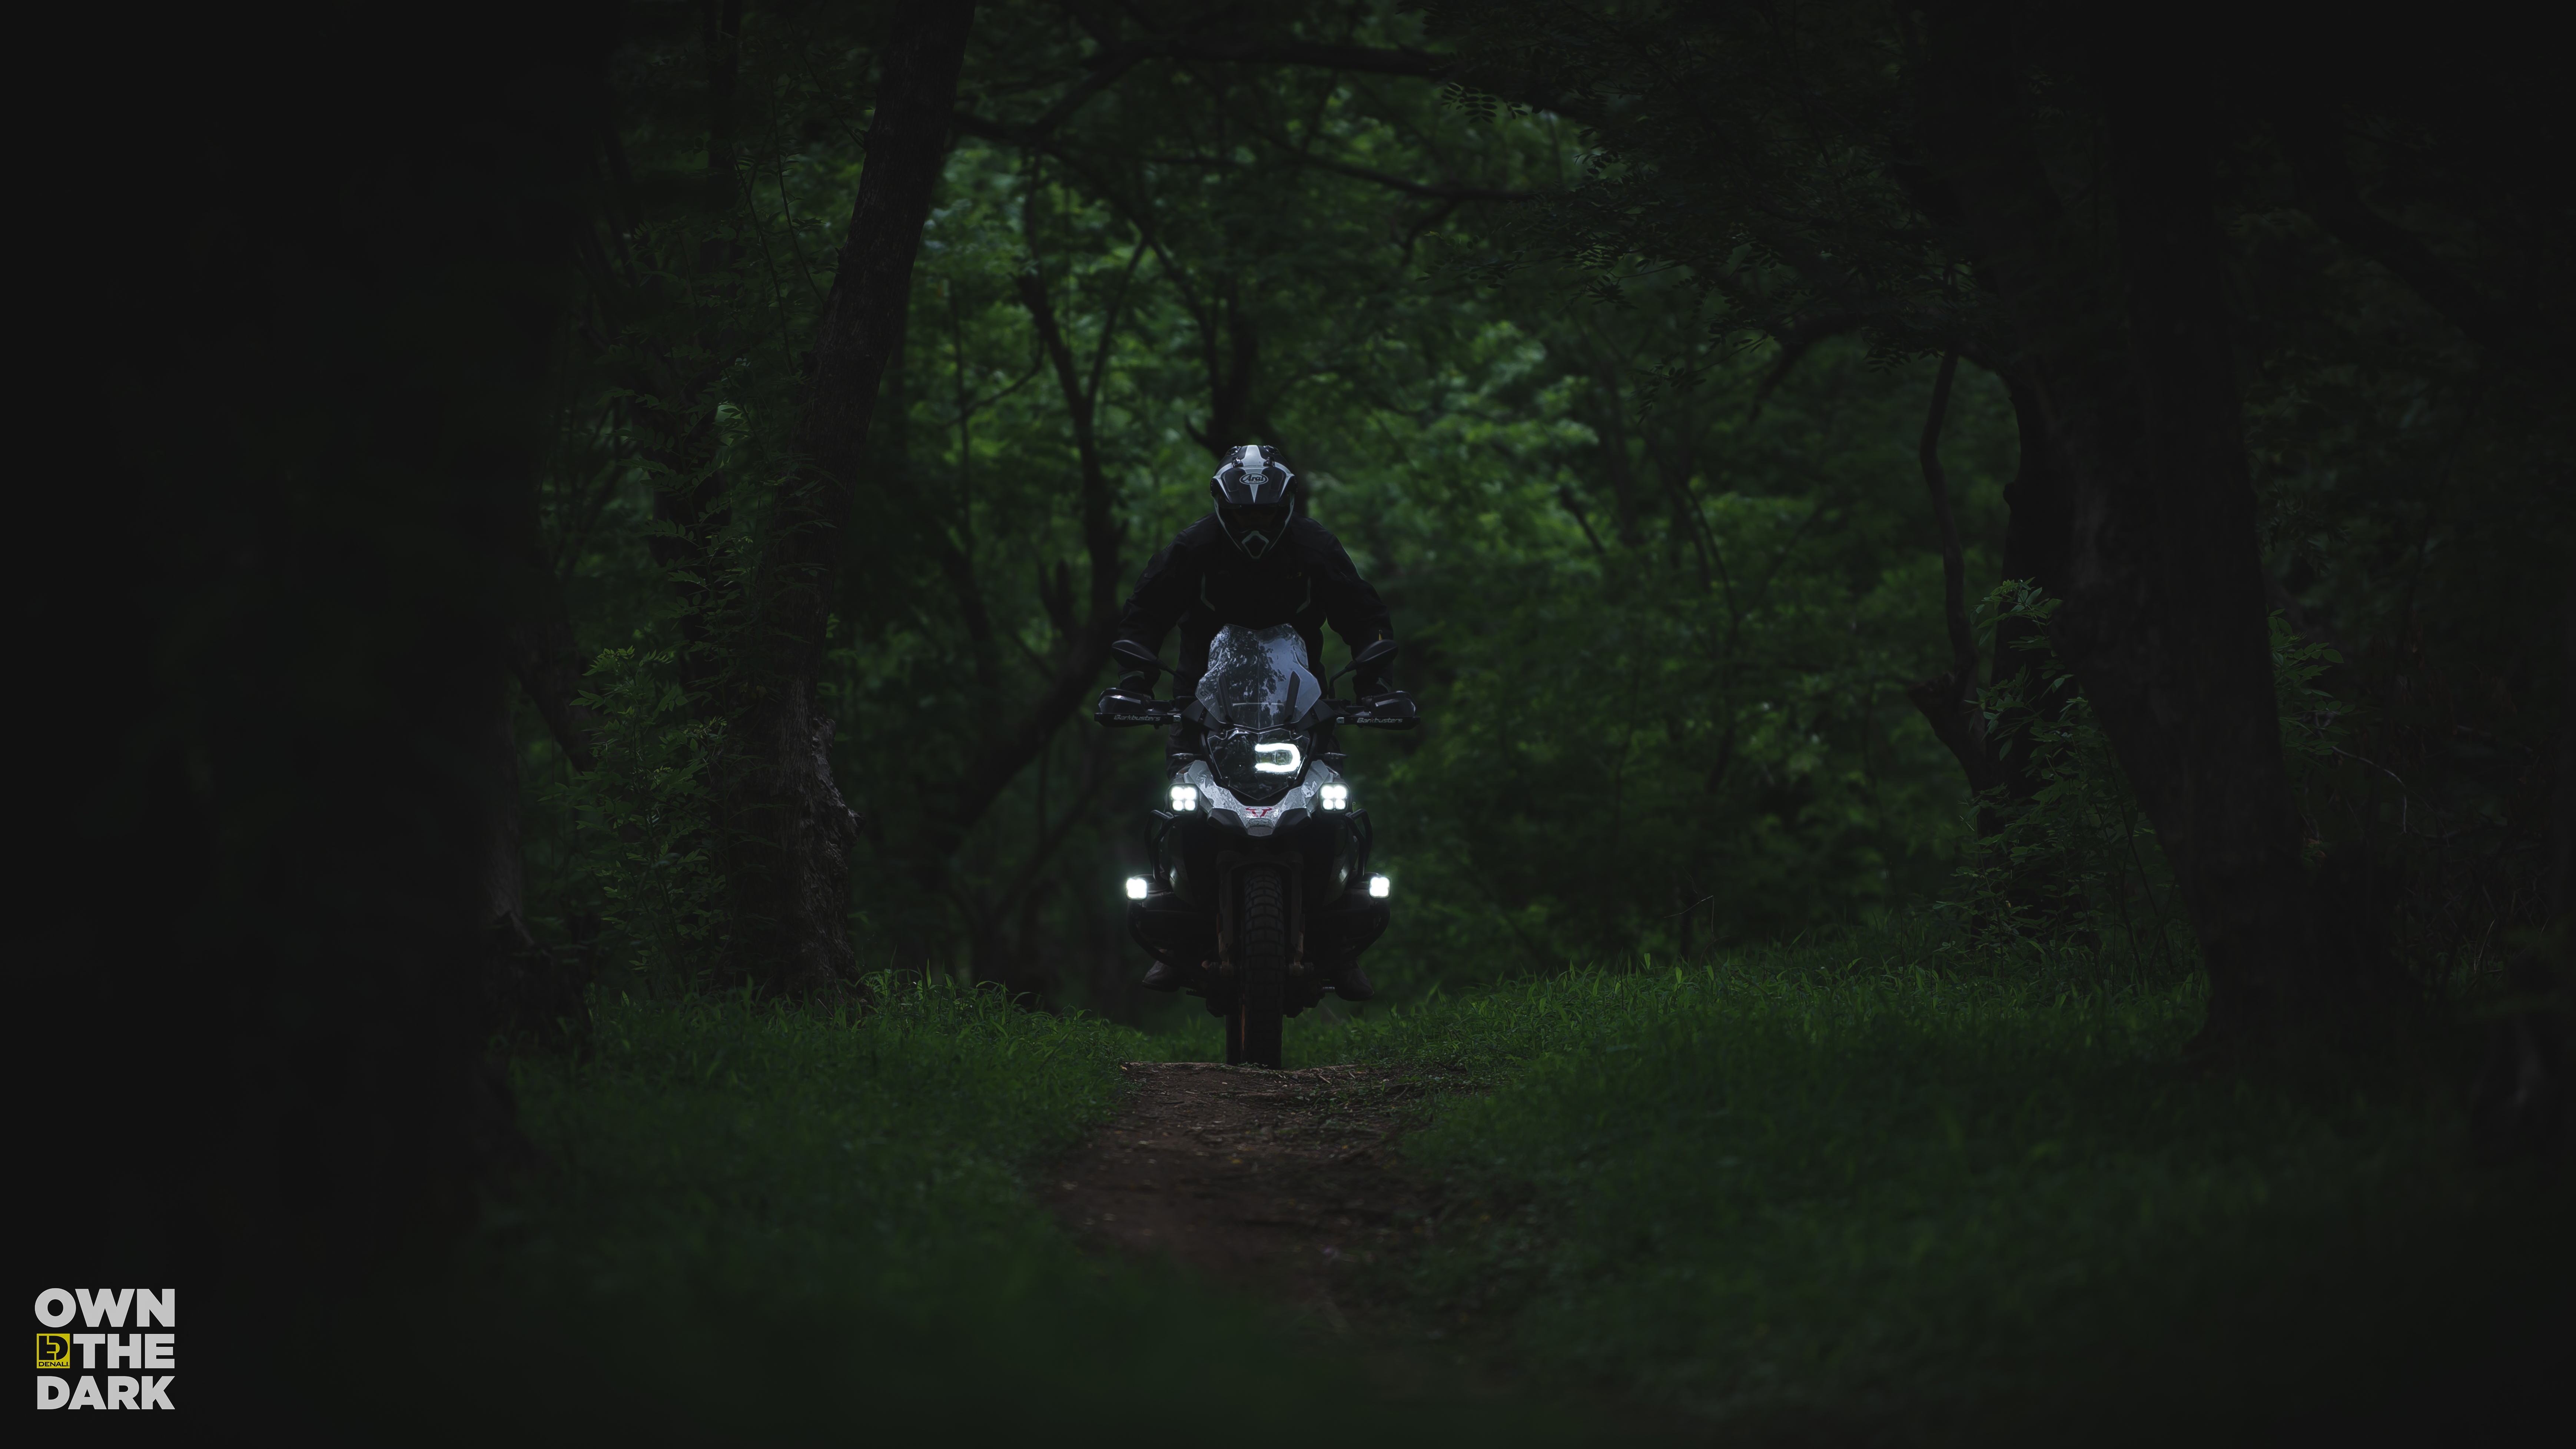
DENALI LED Lighting – Optimized for 4×4 applications!
Like a proverbial machete in the hands of a tribal hunter, these beams have helped me chase my freedom. Cutting through dark nights and setting me apart when the sun is in the eye, every time I exercise my independence, my lights have been my foremost weapon.
Silently supporting me, when I am alone. Giving me the courage, to head out – time, after trying time.

I am Nipun Srivastava.
(Supported by Denali Electronics, BIG BAD BIKES and Twisted Throttle)


All DENALI Electronics products are available in India through the official distributor – BIGBADBIKES.
DENALI LED Auxiliary lighting is ideal for use on motorcycles, pick-up trucks, Jeeps, side by sides, boats etc, get yours today at bigbadbikes.com!

Nipun Srivastava is part of the DENALI Electronics Brand Ambassadors Team for 2021.

Project Swashbuckler

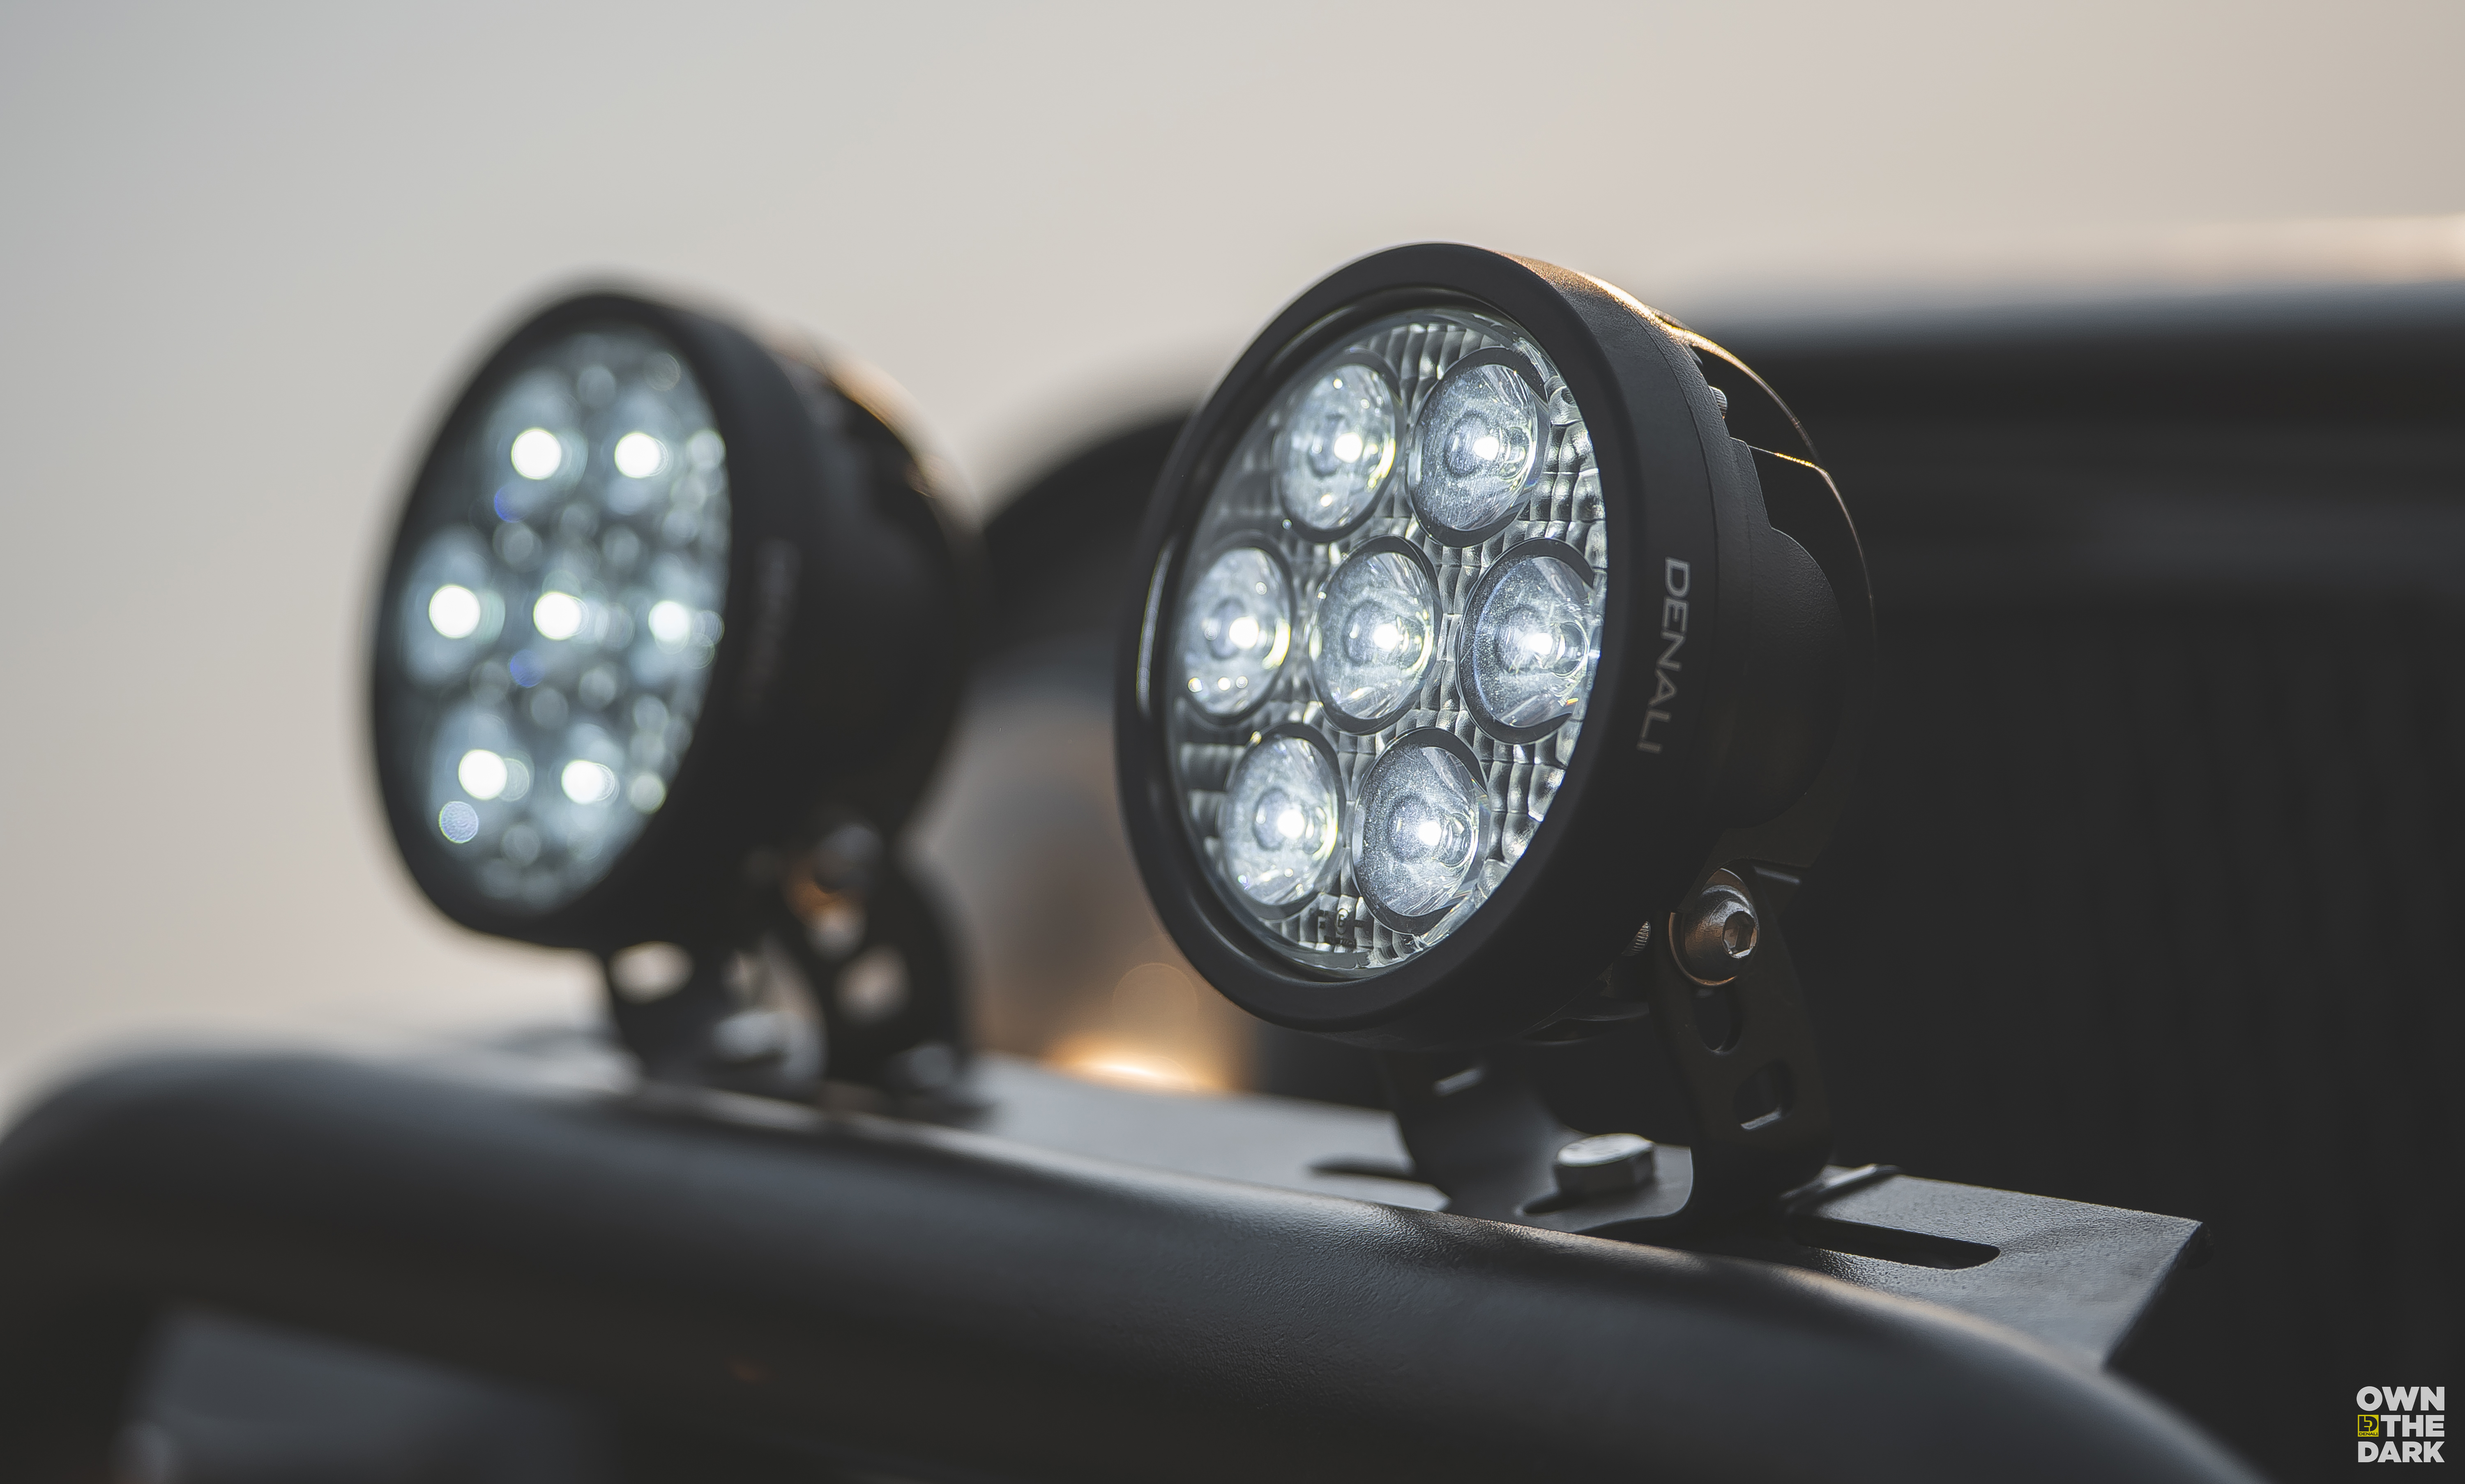
There are motorcycles and then there are motorcycles – and then there’s the GS.
Over the years our teams have ridden and used many a motorcycle but when it was time to choose our first ever ‘project motorcycle’ for Image Drivers ( India ), …it had to be the BMW R1250GS.
Watch the Project Teaser!
(scroll down for full film)
We pulled out all the stops when it came to Nipun Srivastava’s beloved new steed. We called in trained technicians from multiple mechanical disciplines to lend a hand with our build. This build was to be an intense one as the challenge before us was not just to outfit the motorcycle from start to finish, within 24 hours, we were to do it with an entire camera crew from @thenirvanateam pointing their lenses at the motorcycle and all the parts we had got for it!
It had to be the GS.
Everything had to happen like clockwork and right from the start, it didn’t. Early, on the morning of the BMW build, we got to the workshop at 5am, hoping to start by 6 but guess what, the shutters to the shop had jammed shut and refused to open. It took us the better part of an hour to figure out how to jimmy open the damn thing. We got it done, eventually.
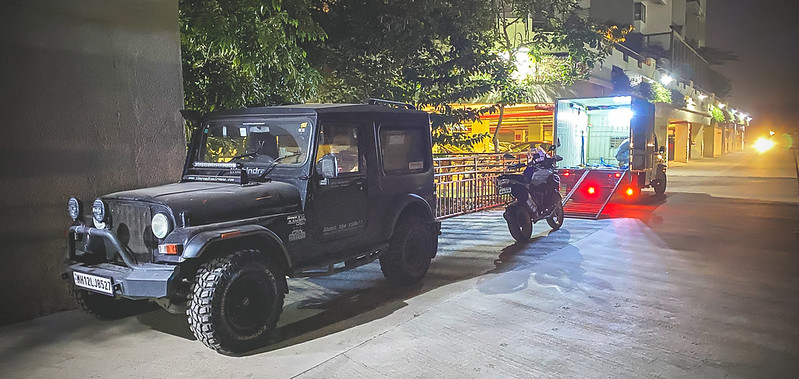
Getting ready to load up!
Inside our workshop for the day, the boys from thenirvanateam got to doing what they do best, setting up all the motorcycle, camera and tooling gear required for the marathon assembly and video shoot which was about to start.
Here’s a list of stuff that we planned to get on the bike that day:
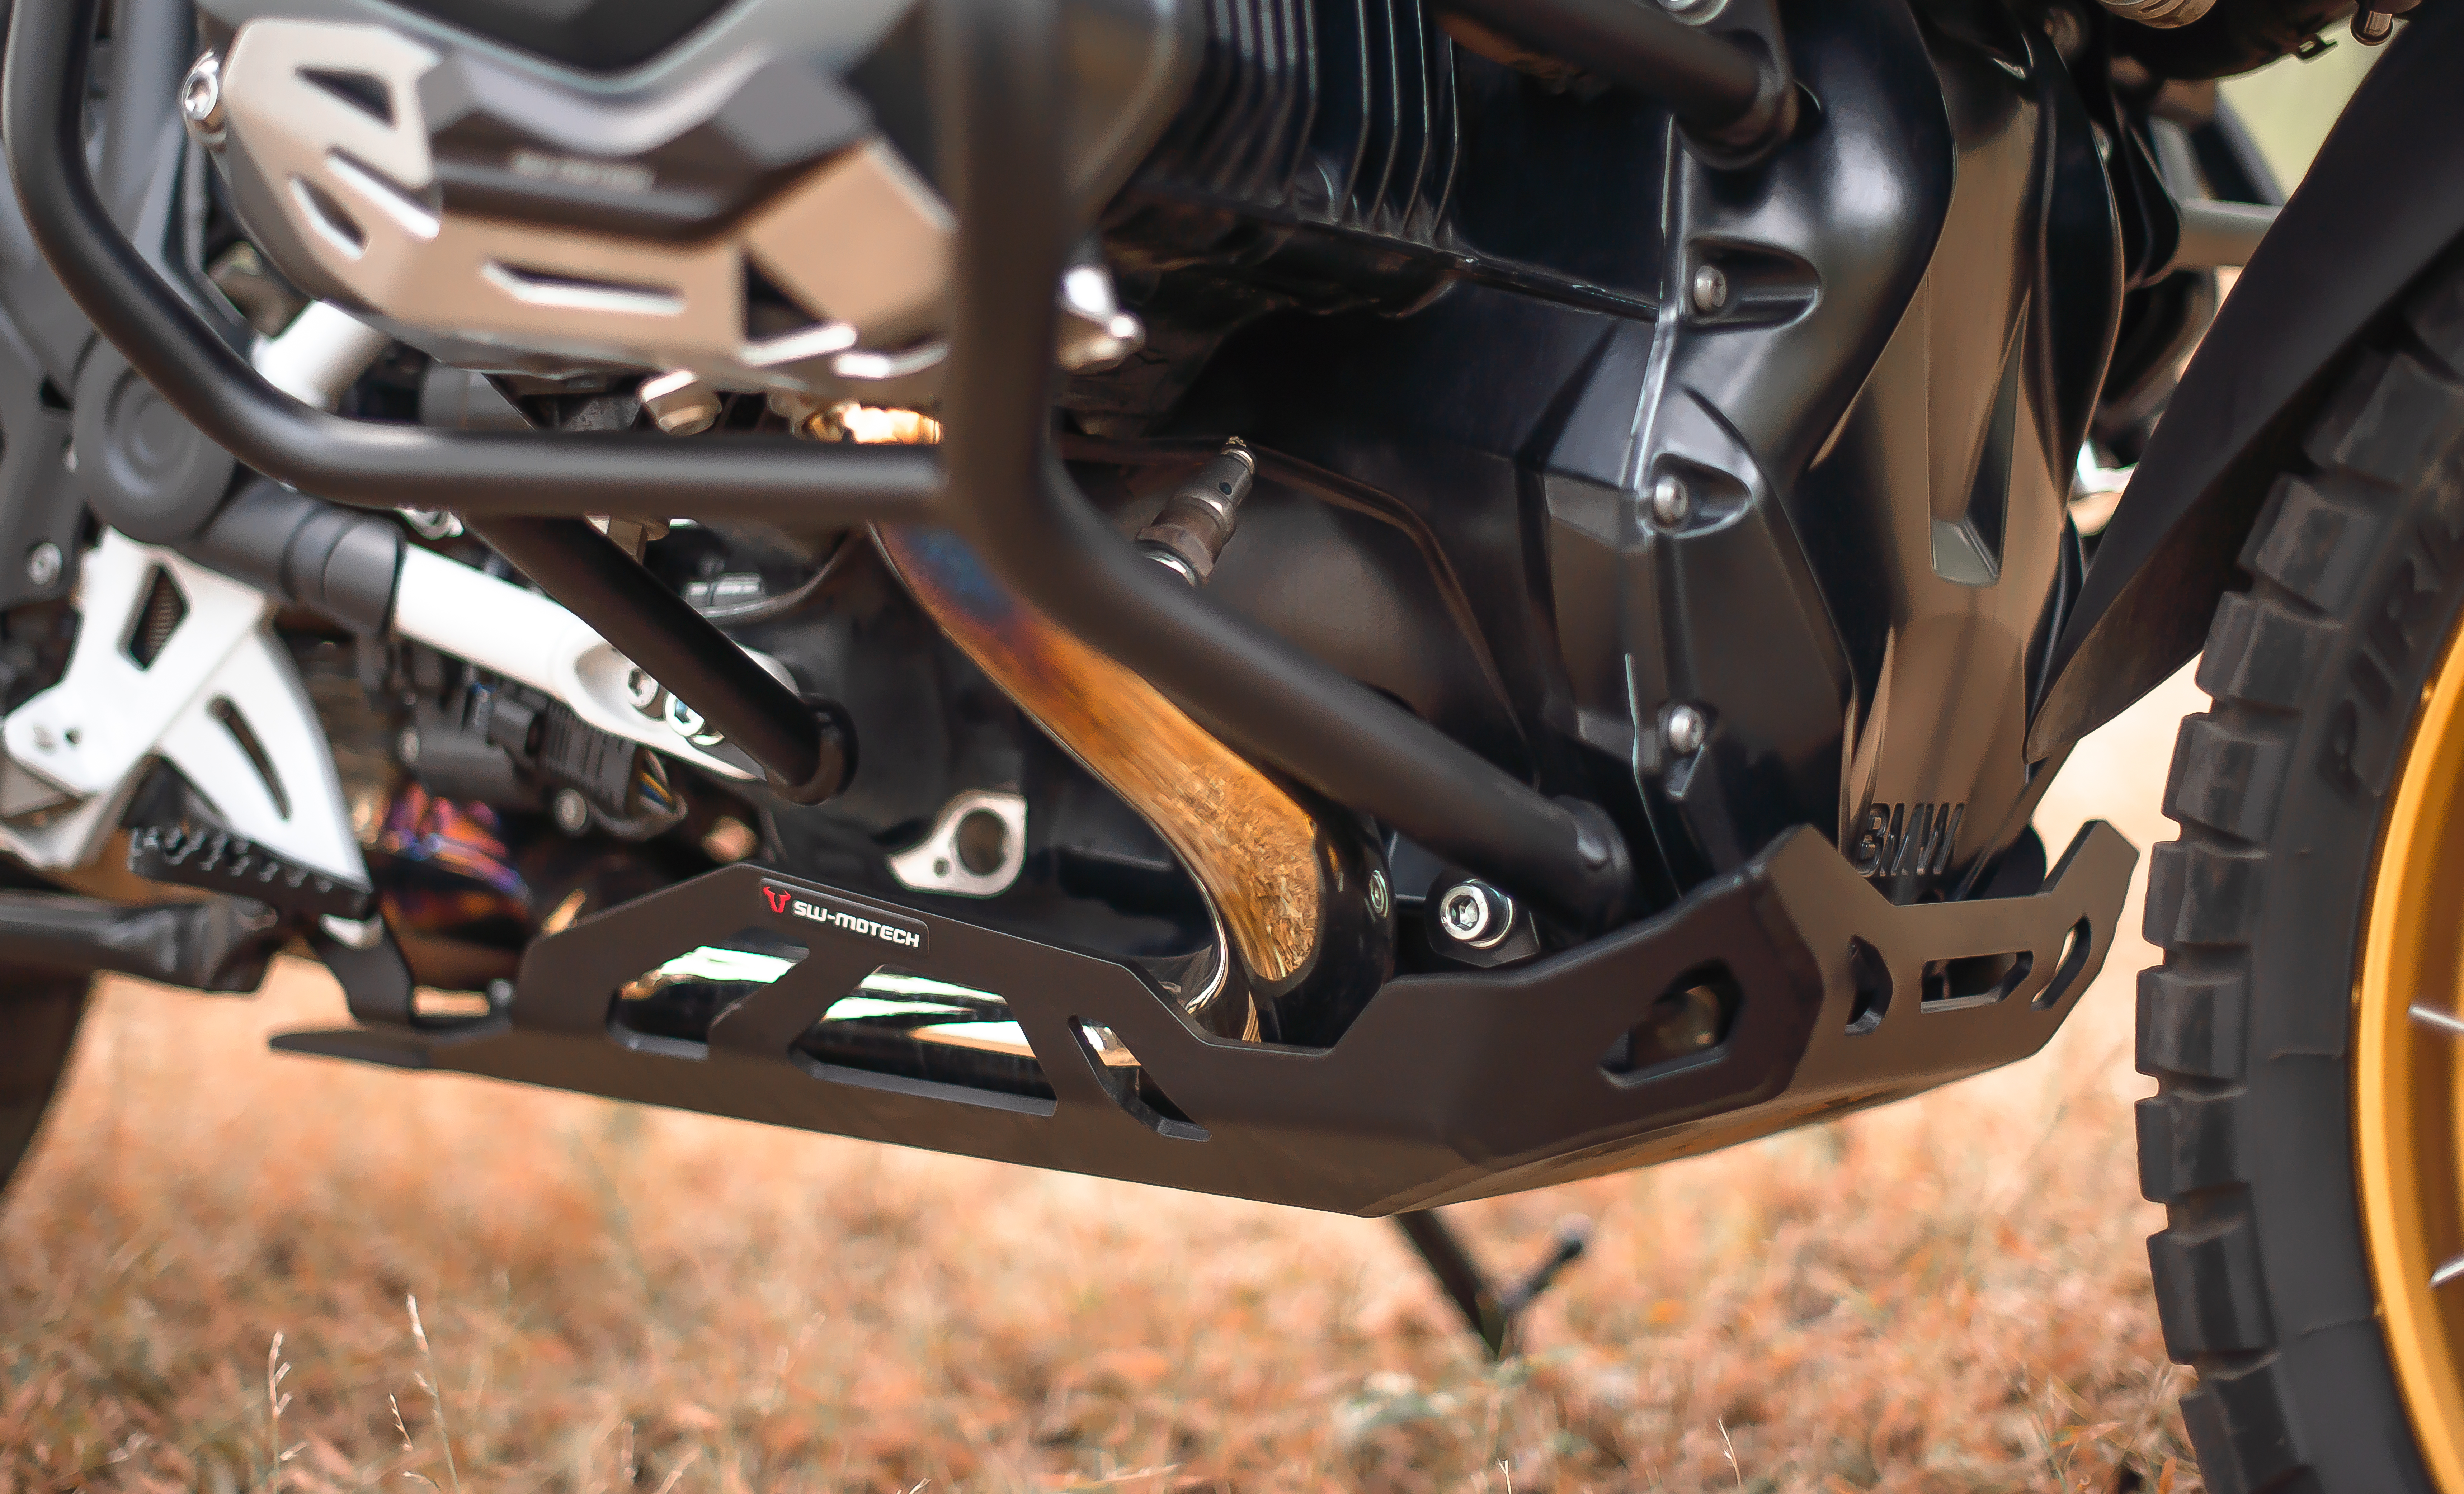
- Lower Crash Guards
- Sump Guard/Bash Plate
- Front axle Slider
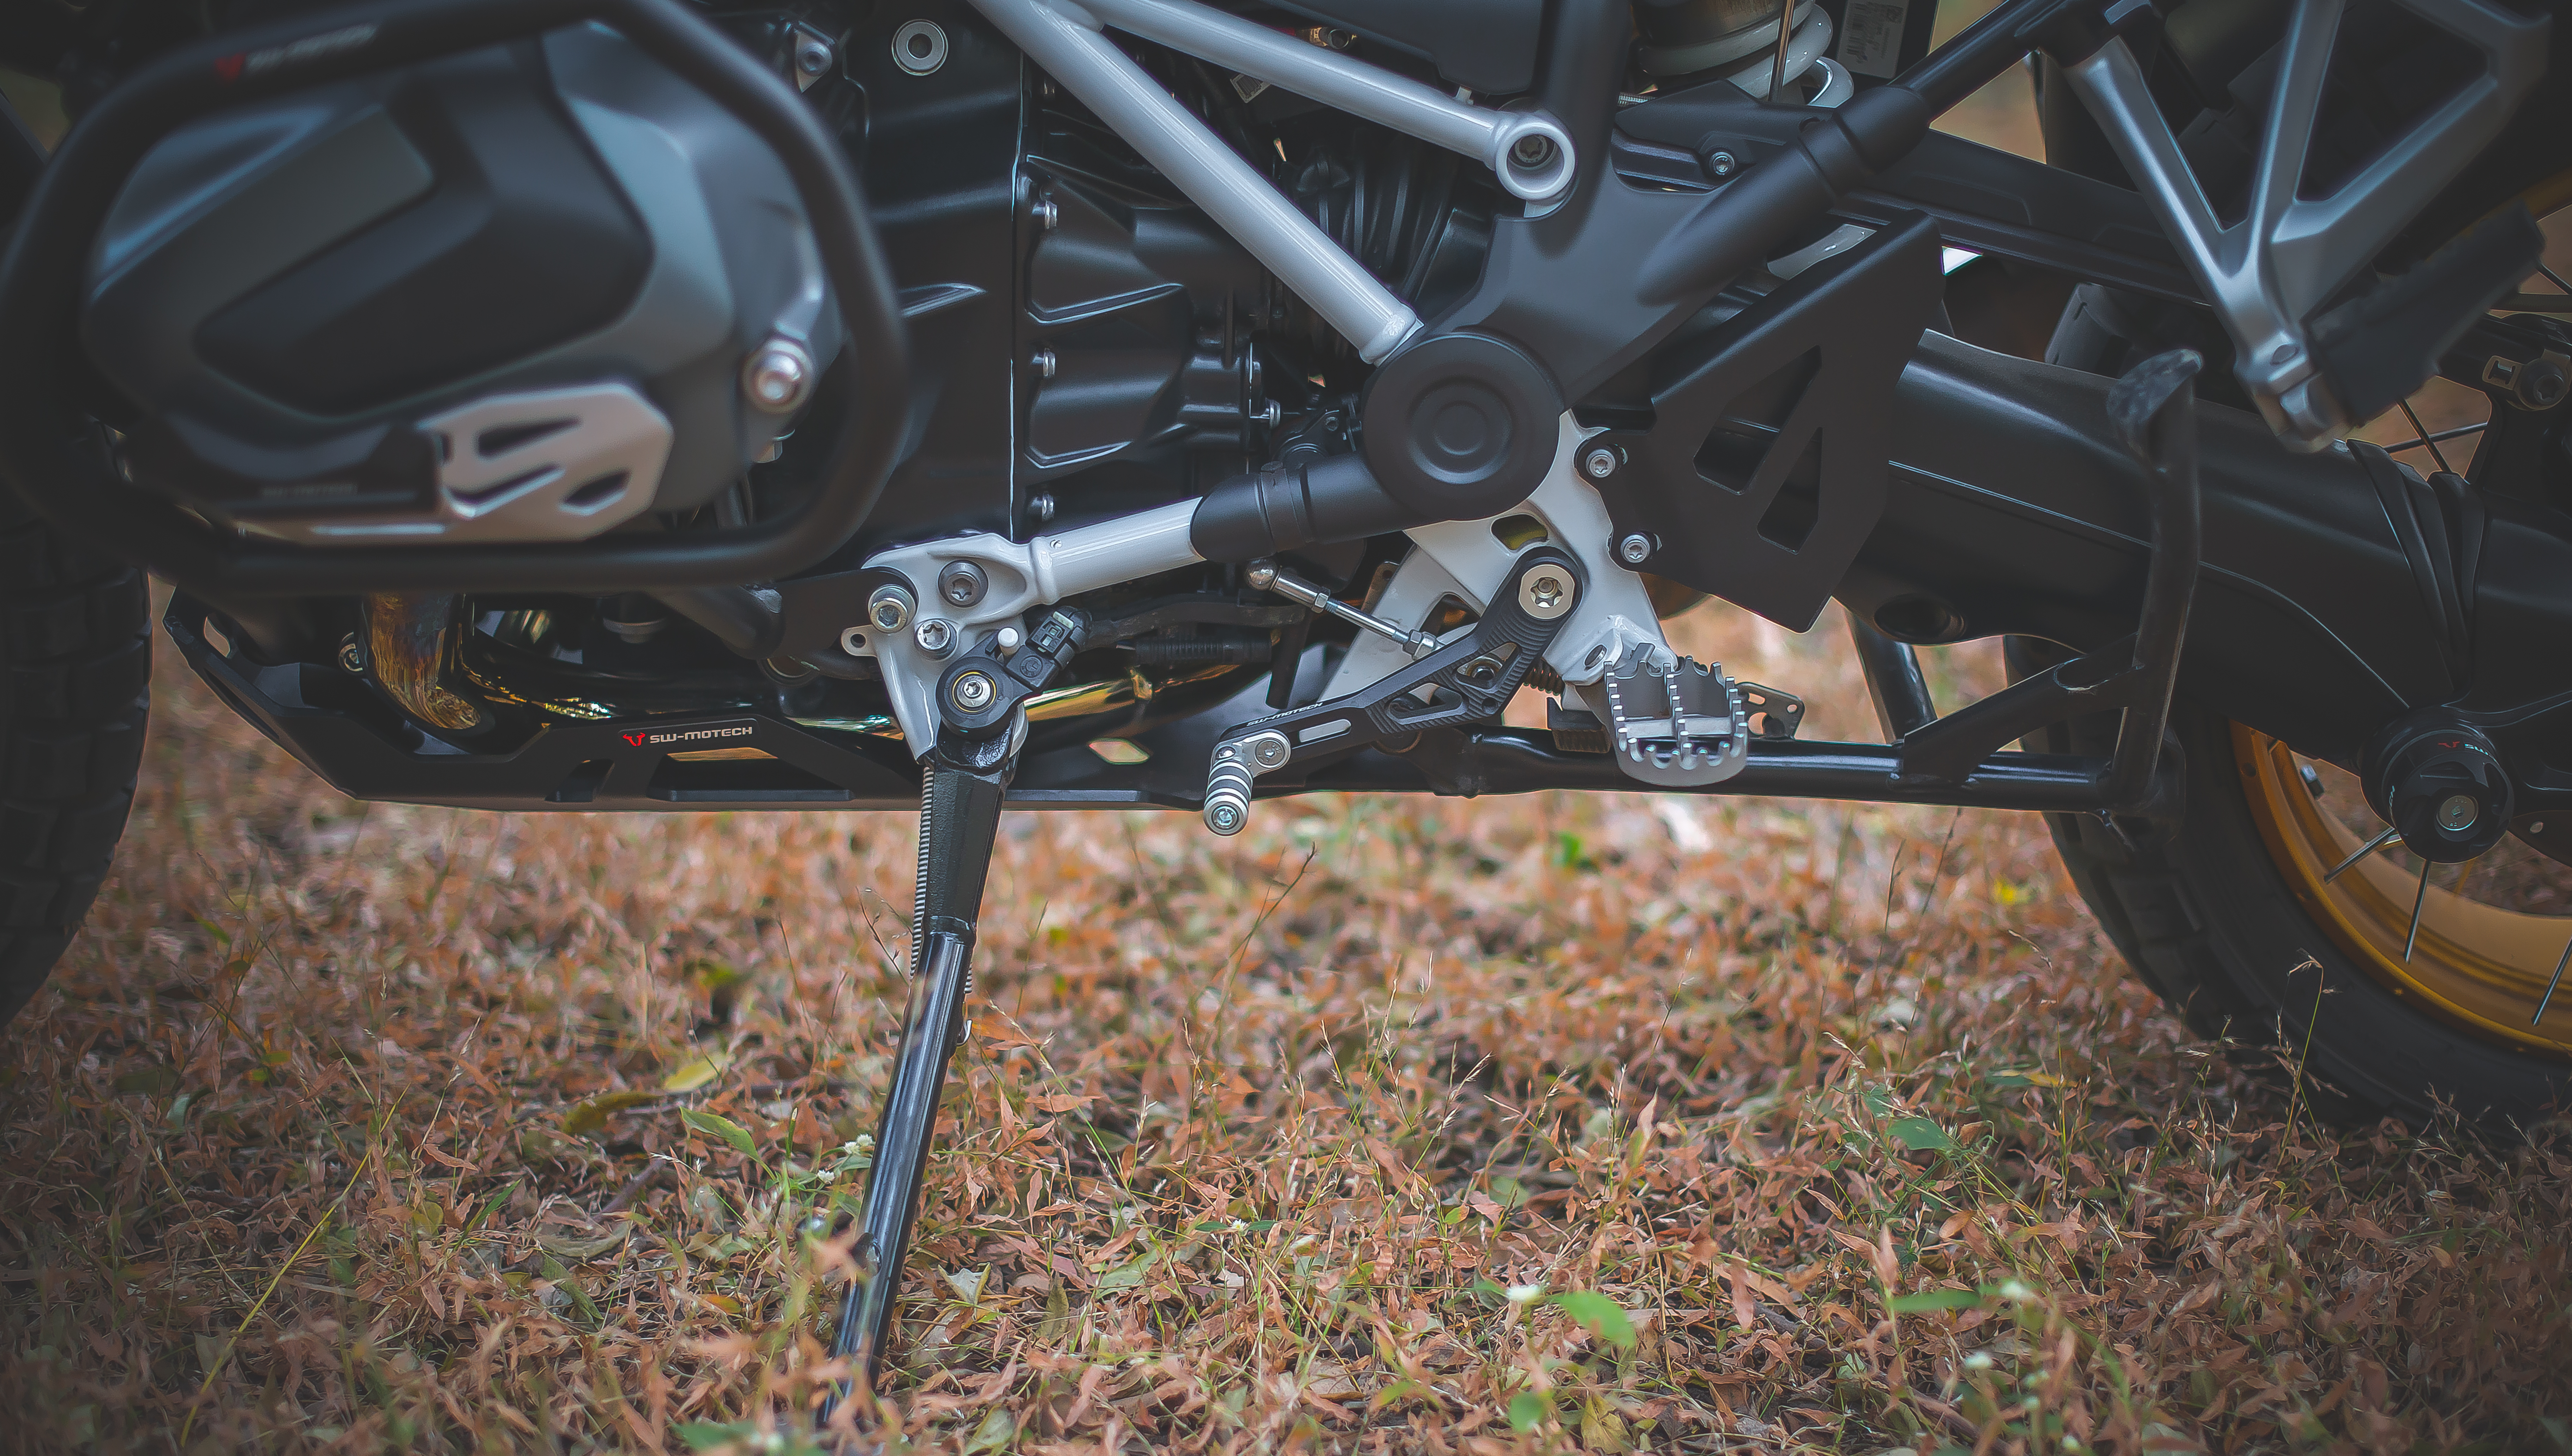
- Side Stand Foot Enlarger
- Windscreen Reinforcement
- Brake cylinder Guard, Rear
- Rear brake Reservoir Guard
- EVO Tank Ring
- Daypack Tank Bag
- Gear Shift Lever
- Denali Light Mount
- Denali D4 V2 TriOptic – Wiring and Install
- Upper Crash Bars
- Rear Slider For Drive Shaft
- Aero ABS Pannier System
- Adventure Rack for Top Case
- Adapter Plate for Top Case
- Urban ABS Top Case
Each of these parts was handpicked by Nipun and provided by SW-Motech, Denali Electronics and the heros behind making our vision for the GS possible, the folks at BIG BAD BIKES India!
We caught the bull by its horns and started off with mounting the biggies – the lower crash bars and sump guard from SW-Motech. Then came the quickies – the front axel slider, quick lock tank ring and the side stand enlarger, then came the trickies – the windscreen reinforcements and wire routing for the LEDs.


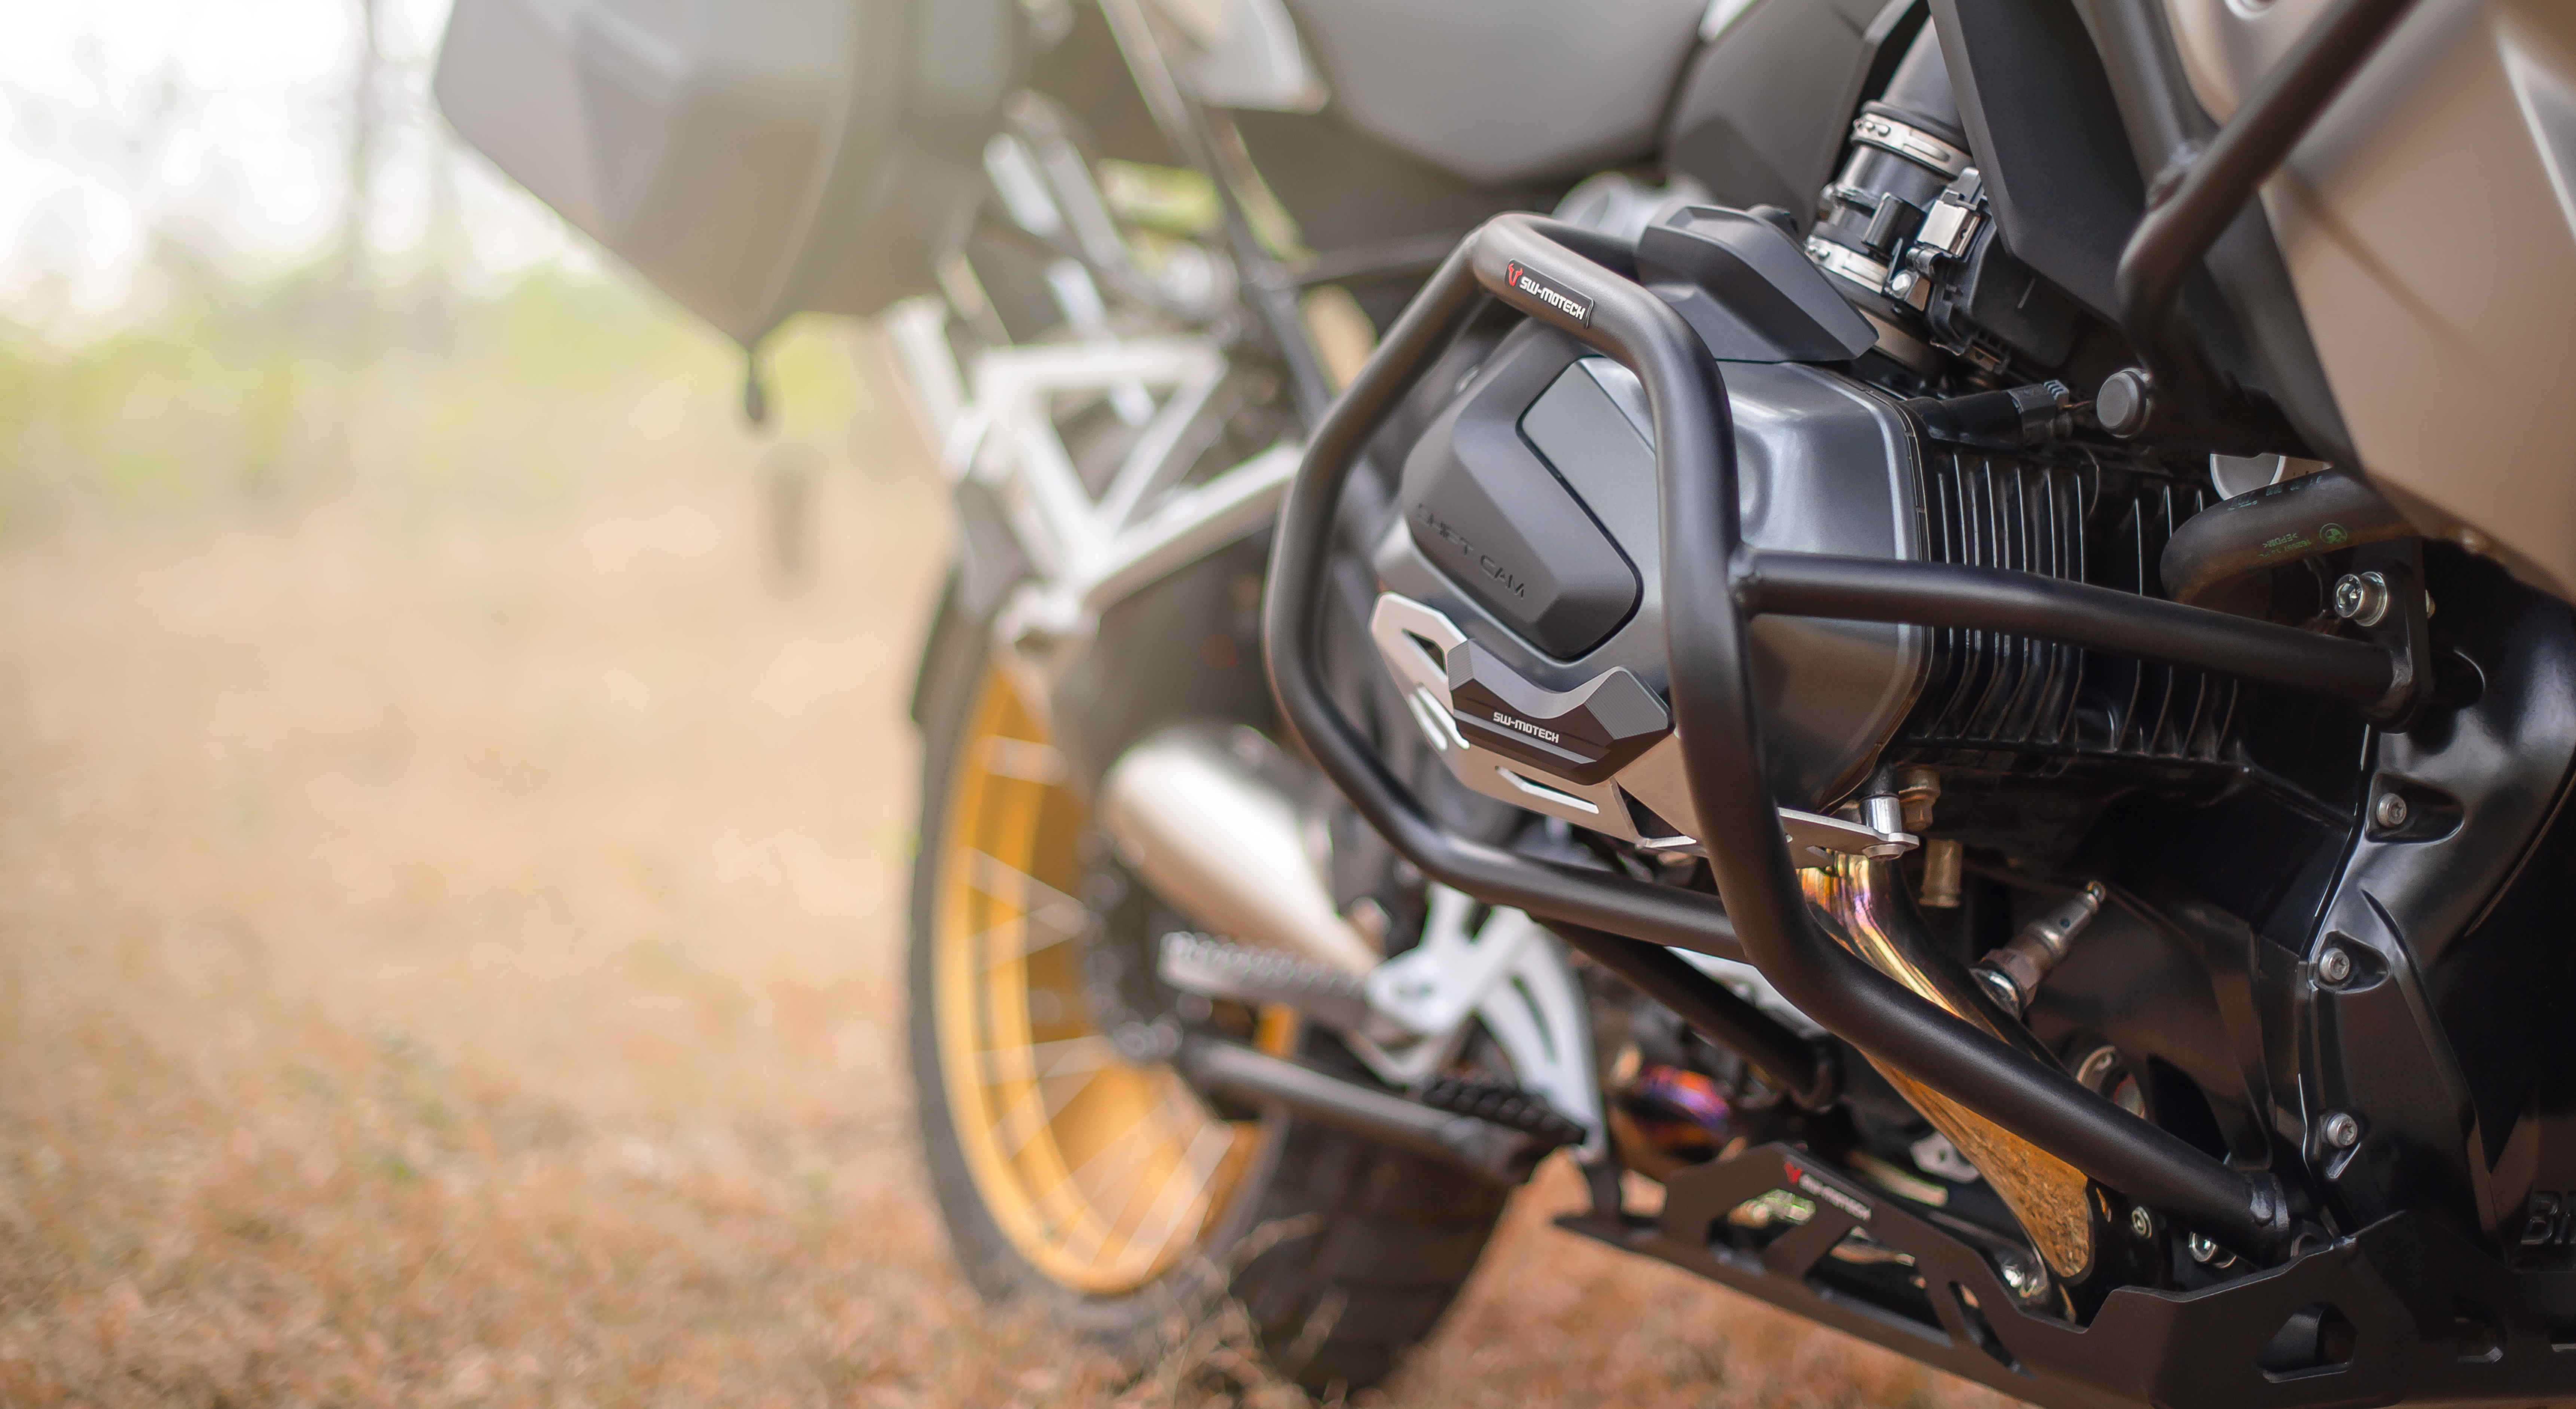
Lower Crash Bars, Sump Guard, Windscreen Reinforcements, Axle Sliders & Side Stand Enlarger.
(Click on an image to see it up close)
Along the way, the brake cylinder and reservoir guards were also bolted on in quick succession. Fairly easy stuff.
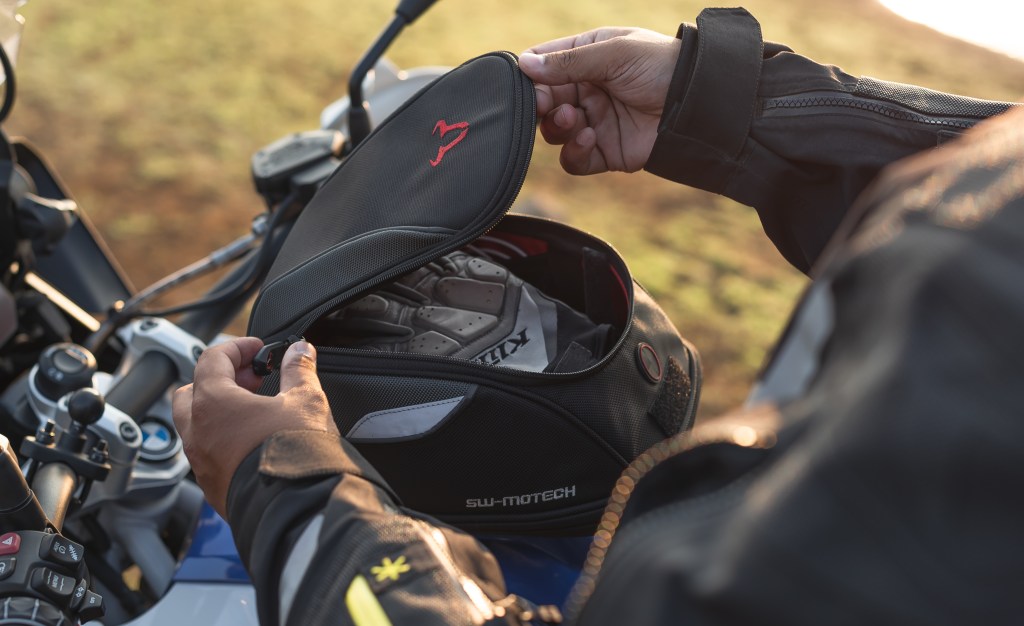
Then came the gear shift lever from SW-Motech, which required rider input from Nipun Srivastava, who came in all decked up with his new KLIM gear, ready to show off for the cameras! (Watch the video at the bottom to check it out!)
Lunch for the team was a quick ‘Vada Pav’, which is basically an Indian veggie burger with a potato patty – our go-to snack during builds like these and while on rides.


Brake Reservoir Guard, Gear Shift Lever & Brake Cylinder Guard.
After lunch, as the lights came on again and the cameras fired up, came the job of figuring out how to mount the dutiful Denali D4 LED lights. The directions in the box are a boon but the lights were to go on in unison with the DataDim Module from Denali and also the Denali Light Mount for the R1250GS, which was to replace the crossmember on the upper crash bars from SW-Motech (phew! Just saying it out loud is a feat!), the 3-position-switch was also to be connected as we were not using the Can-Smart Controller. Not to forget the routing of wires all the way under the fuel tank cowl, making its way to the under-seat battery.
This part of the installation took time as so many bits were involved, however it was a fairly straightforward process, with a little back and forth on the routing of wires and ideal placement of the D4 light pods. We would also add a couple of S4 light pods with the help of ‘splitters’ (also provided by Denali) a few days later, so the time the boys took painstakingly snaking the wiring through, helped us bolt the S4s on in a jiffy!
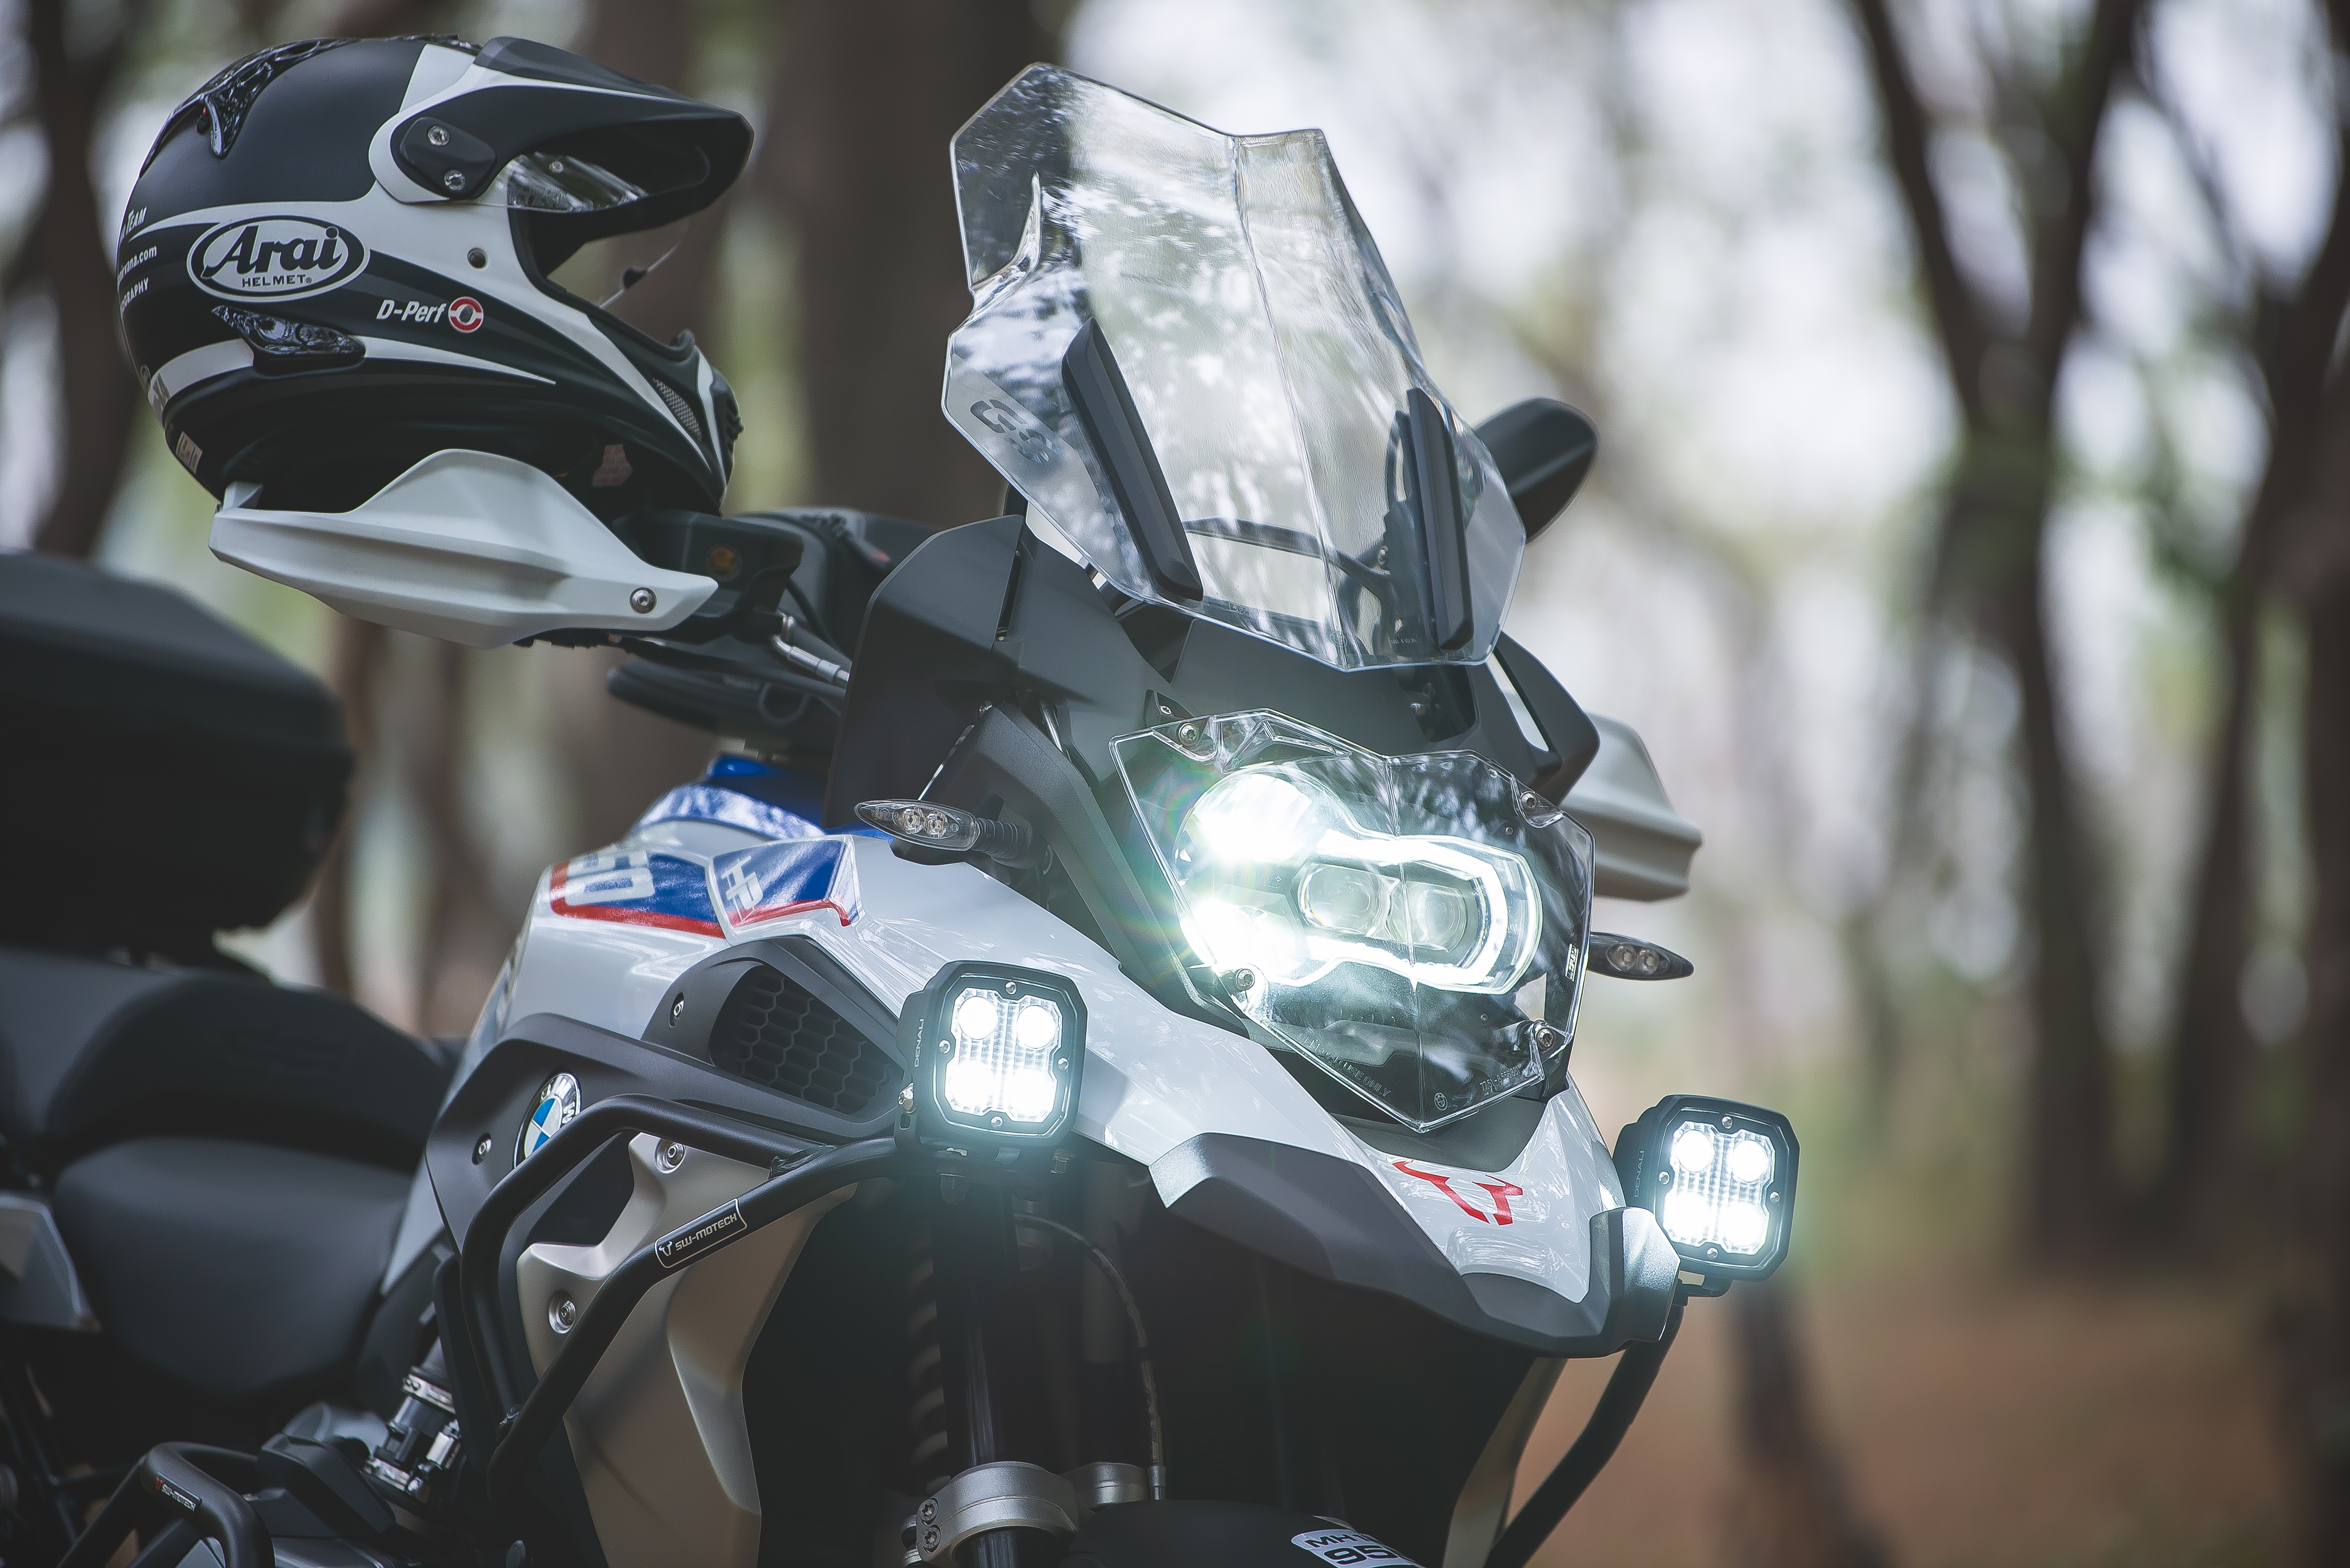


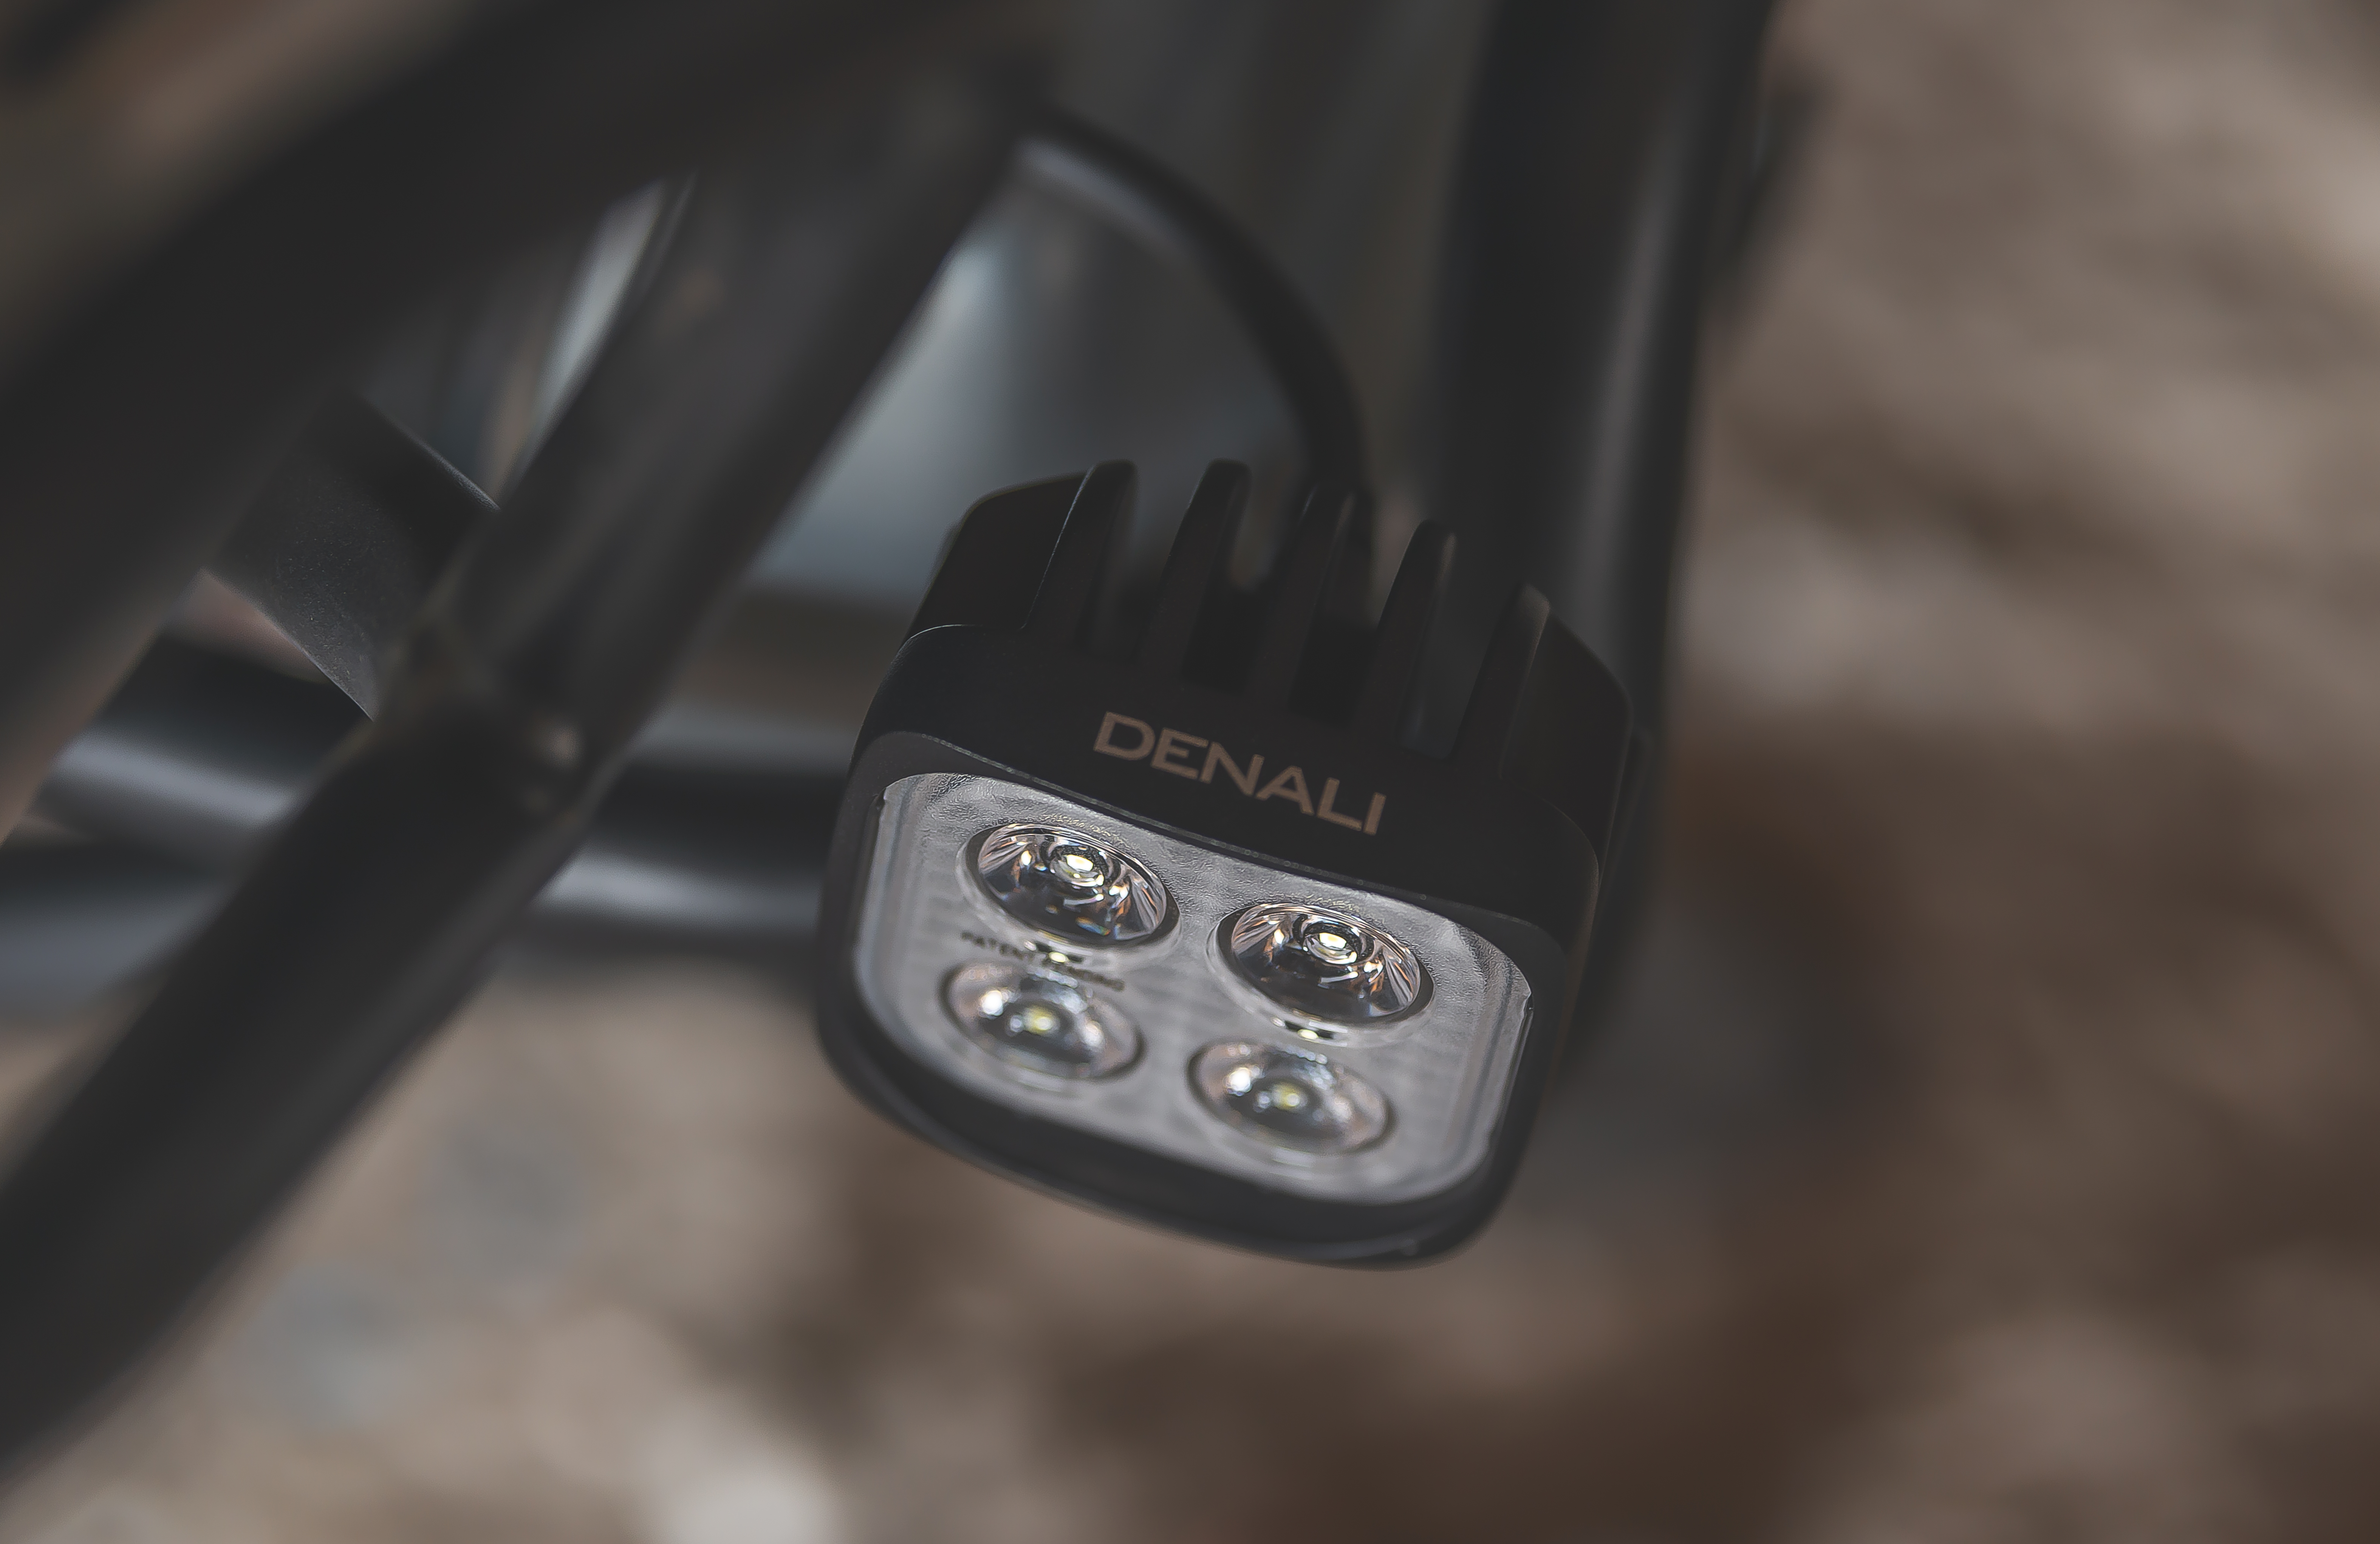

Denali D4 V2 TriOptics all lit up with the new Denali S4s in tandem.
Finally then, as the Sun went under, came the luggage systems. Nipun had chosen the stunning new Aero ABS semi rigid panniers for his steed, an unconventional choice for the GS, but he swears by them as he’d been using the earlier version of the same boxes for years on his Kawasaki Versys 650, check out the Kwacker here: Sport Tourer for the Soul.
The Aero ABS panniers mount onto the new PRO Side Carriers from SW-Motech, even with the boxes off the bike, the PRO carriers look quite smart, giving the motorcycle a real rugged look.

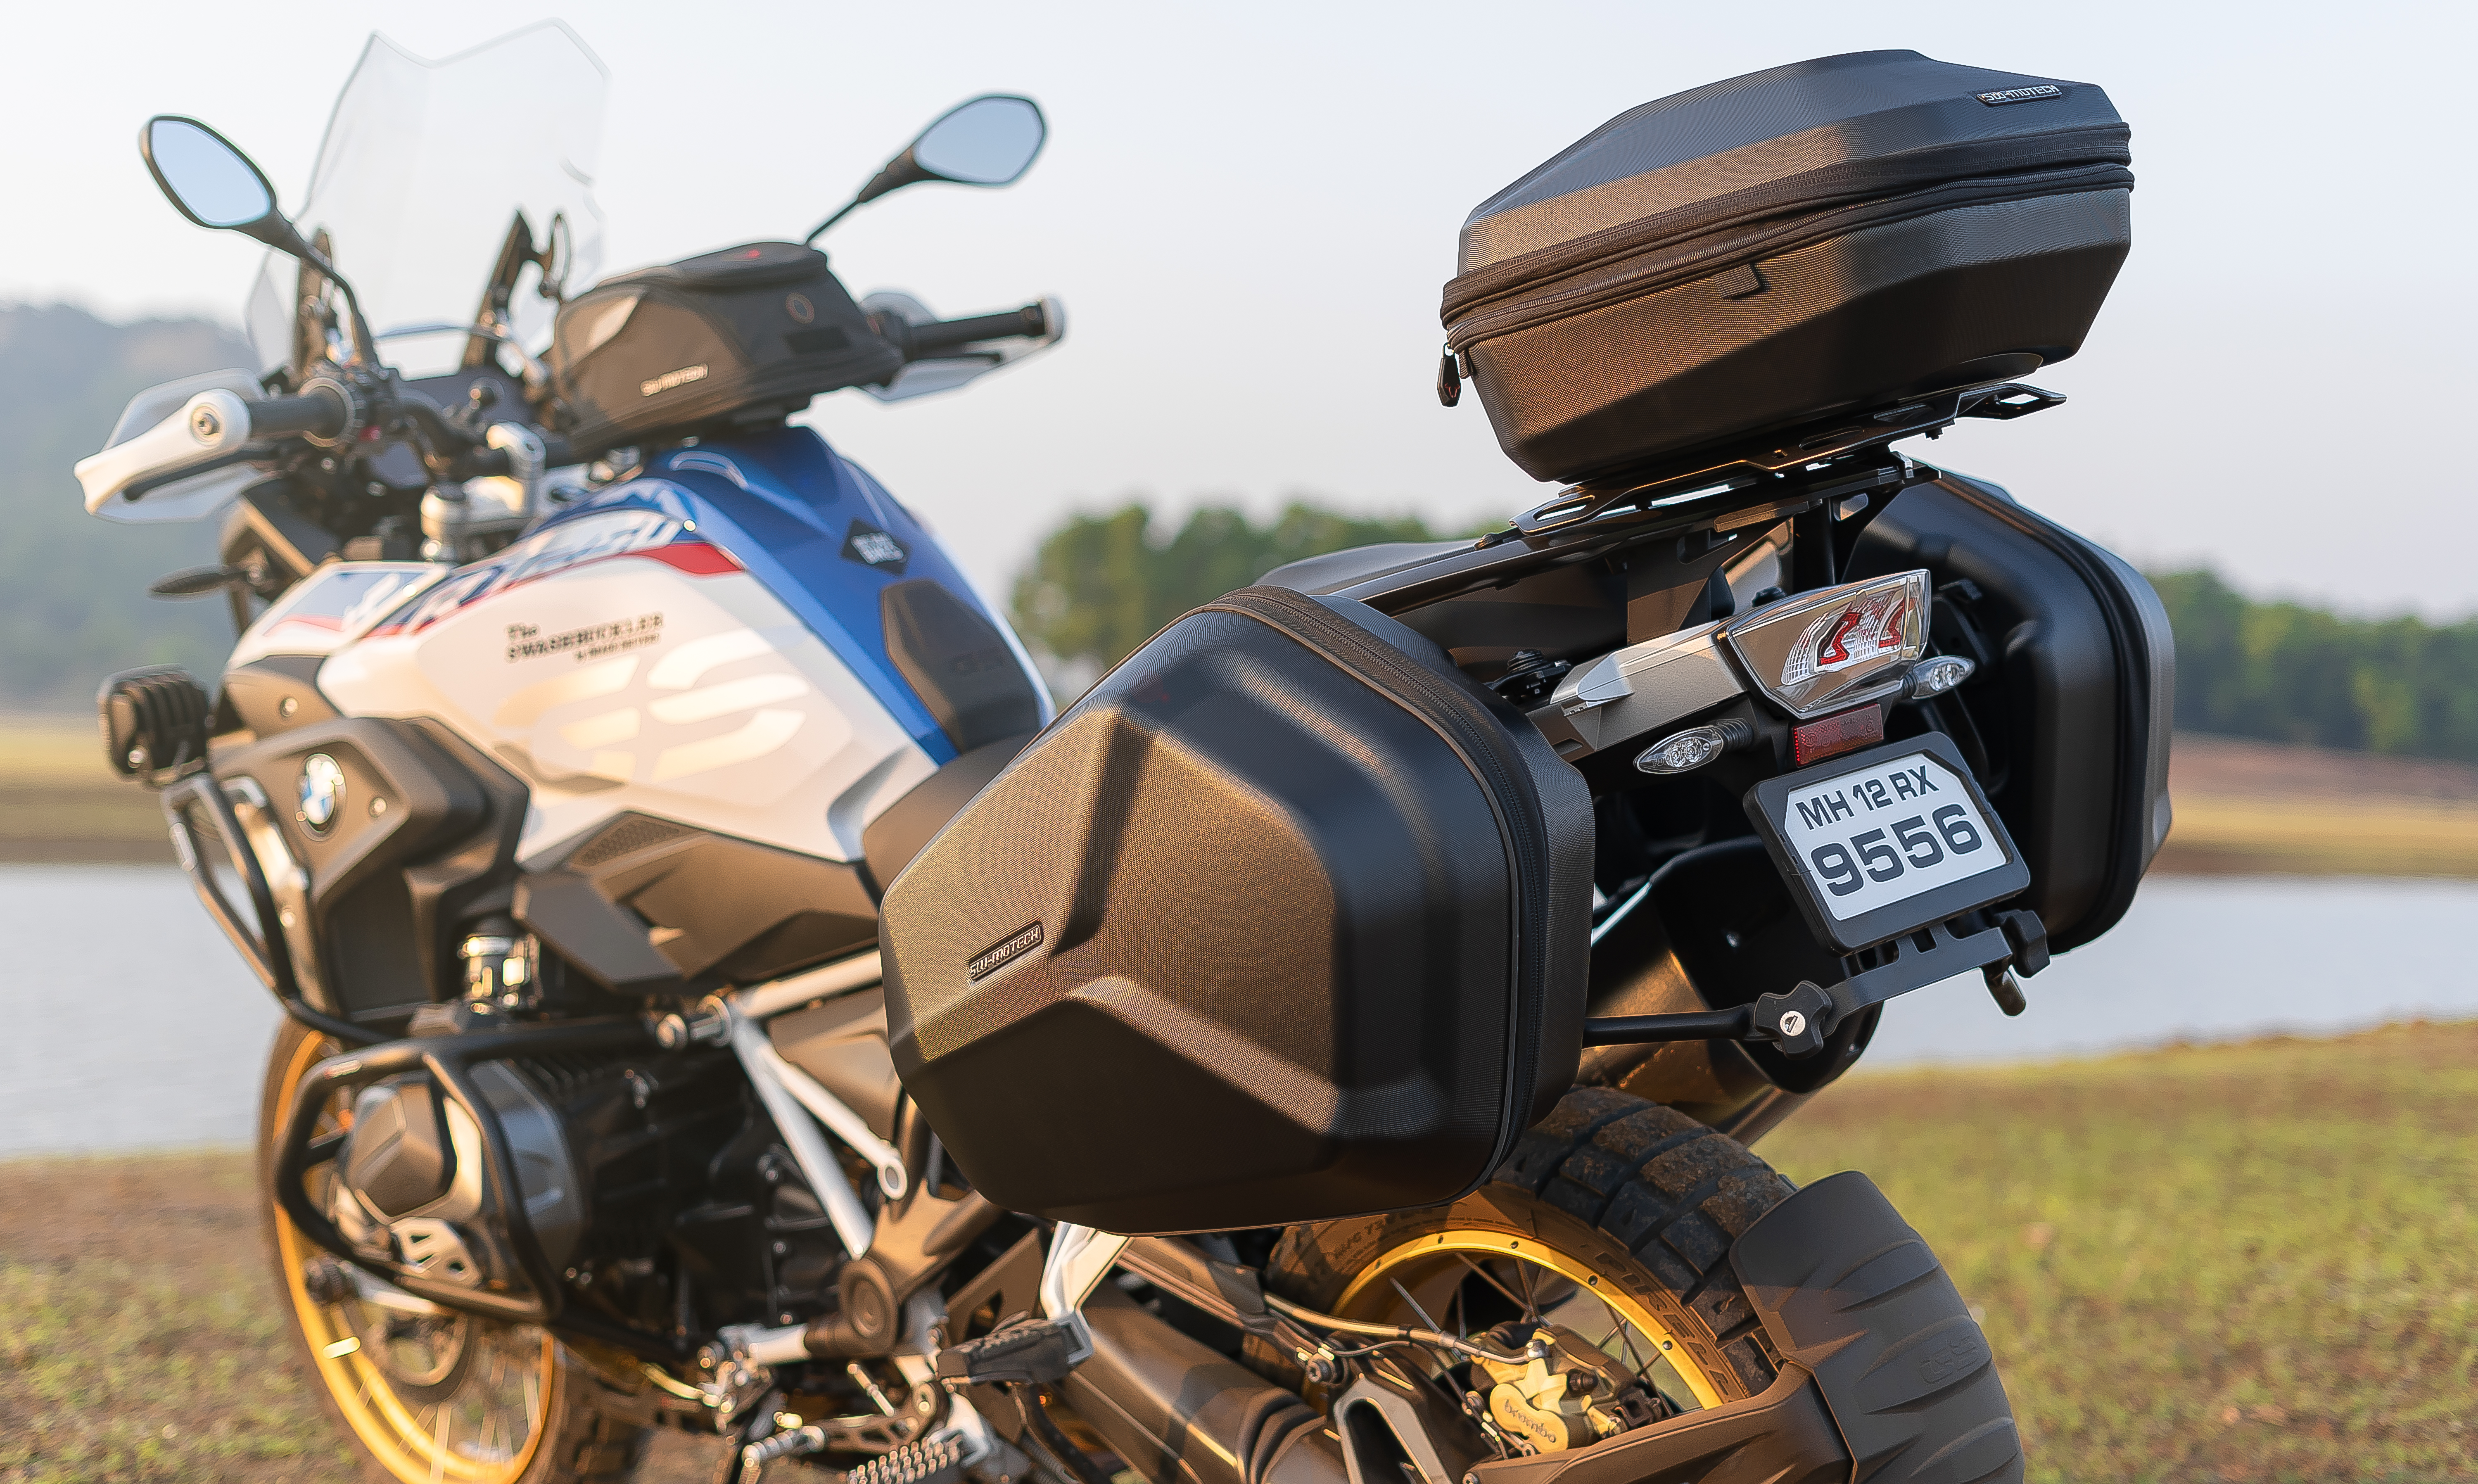
The stunning Aero ABS Side-Pannier System from SW-Motech!
After the panniers, the Adventure Rack went on, with the adapter plate for the Urban ABS TopCase. This took surprisingly long as we found ourselves completely flummoxed by the adapter plate and its mountings atop the Adventure rack. Looking back, it was probably the non-stop 15 hours of standing and continuous working on the motorcycle that had taken its toll on the team, we stopped. We pulled out all product literature and read through the mounting sequence line by line. Our lead technician finally figured it out as the clock struck 11pm (remember, we started this gig at 6am).
And then the Top Case went on as easy as butter melting on toast. Check it out below!


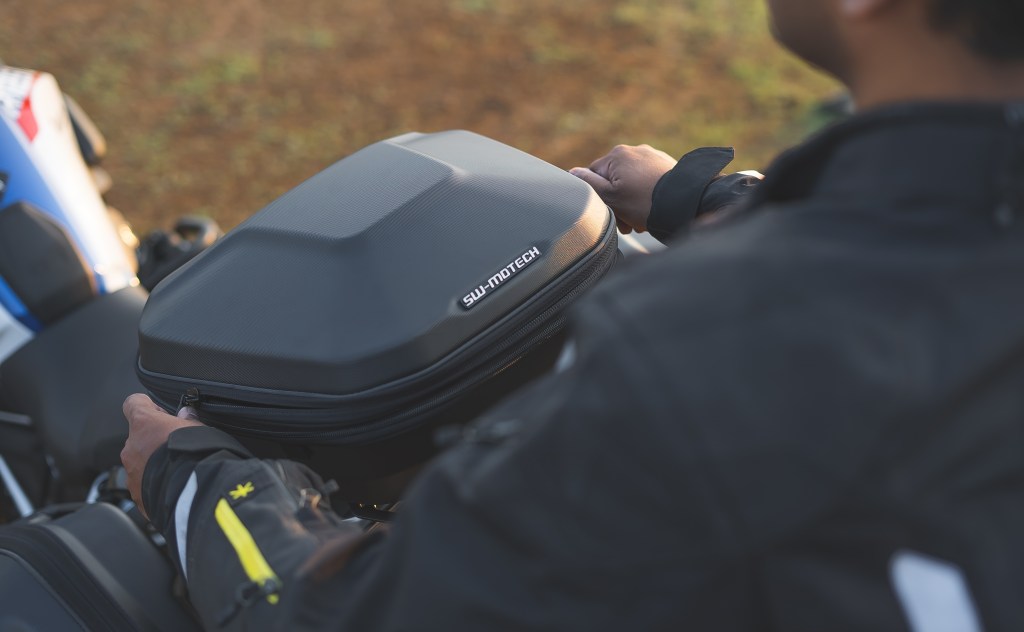
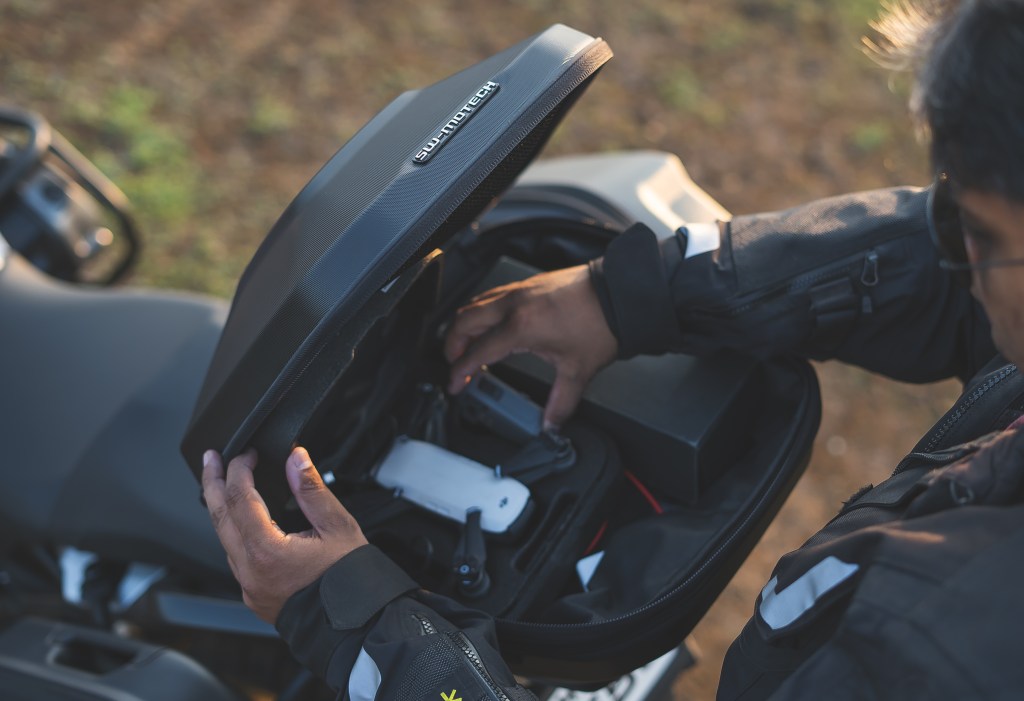
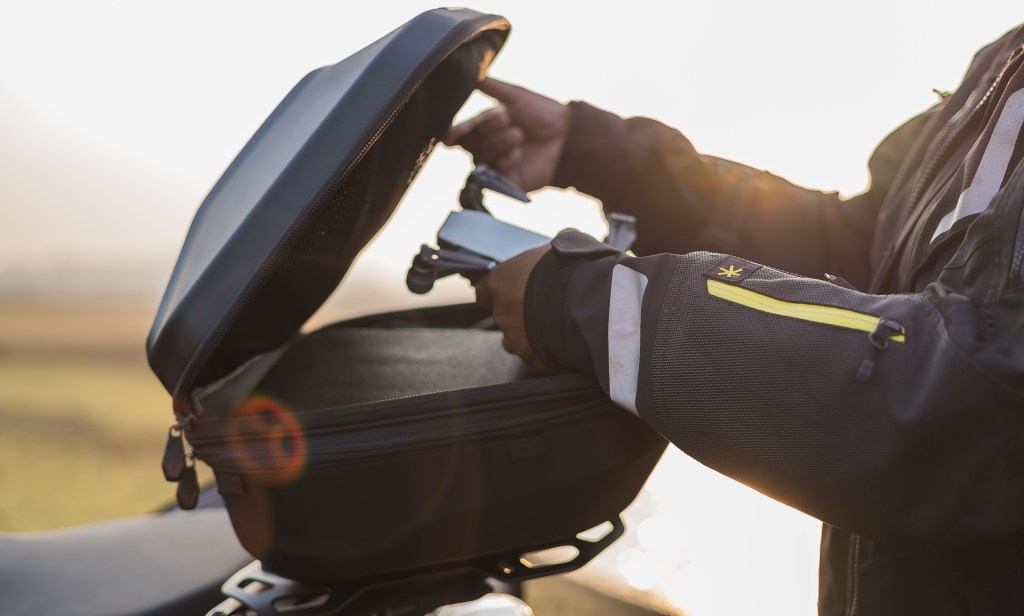

The Adventure Rack & Urban ABS Top Case in action.
Finally, our list was complete and we rechecked every part installed on the motorcycle one last time and that was it.
PRO TIP: If, ever, like us, you are crazy enough to attempt installing so many parts on a GS all at once, take it from us, install the Tank Bag and Tank Ring absolutely at the end. We spent a lot of time installing the tank ring and then repeatedly taking it off to access the space under the fuel tank cowl.


The Daypack Tank Bag from SW-Motech.
Trust us, it sounds way less intense than it really was. Multiple takes and retakes for the video crew, actually trying to figure out how to mount the parts without losing any bits and bobs in the process. Bagging and tagging each bit to come off the stock bike, behind the scenes – it had all been a true marathon. But we delivered on our promise and Nipun got to ride his steed home that night, fully loaded.
Wondering how it all turned out?
Check out the short video below to catch the full reveal and see how @thenirvanateam went about their job.
Over 20 hours of painstaking work, showcased in just 4 minutes, enjoy!
CHECK OUT THE FULL ACCESSORIES SHOWCASE!
Do share this post with your buddies and feel free to comment and join the conversation!
Motorcycle built by The Nirvana Team. Accessories provided by SW-MOTECH & DENALI Electronics. Project supported by BIG BAD BIKES.
Sport Tourer for the Soul!
Kawasaki, Ducati, BMW, MV Agusta, Benelli, Triumph and even Royal Enfield have upped their motorcycle game in India (or have had too!).
We’re the next big market for motorcycle makers in the world. We’ve got the money and we’ve got the trails too! Most of all, we’re buying new motorcycles like there’s no tomorrow! The markets have been going crazy over the past year, so much so that the Motorcycle we’re bringing to you today already has a refreshed version out there!
So, which motorcycle should you get if you want to see the country on two wheels?
Let’s say you’re a practical rider, someone who’s not stingy but you’re one who likes to be smart about your passionate decisions too, what bike to buy? 😉
 Take a keen look at the Kawasaki Versys 650. A perfectly priced sports touring motorcycle for the Indian market.
An 800,000 Rupee ticket to premium motorcycling freedom. Buy it and you join the big league, kit it out well and you can ride the length and breadth of India, Nepal and Bhutan – all without a passport and over all sorts of terrain, roads and climate!
The 649cc engine on the Versys is all but battle tested, rock solid and super smooth over the rev range, gives a sweet straight power delivery up to a healthy 69 BHP. It can do 120 kmph all day long, comfortably, getting you where you need to be easily. The torque (64Nm @ 7000 rpm) too is tweaked in favour of the rider travelling with a little load – whether that be your luggage over a long weekend, significant other or both.
It has an ABS and an adjustable suspension setup too! Pretty freakin’ cool at this price point, we can tell you that.

Nipun Srivastava, our resident adventurer, has been painstakingly kitting out a Versys 650, using it on his photography missions and weekend rides alike.
How the Kawasaki Versys 650 is the perfect beginner premium motorcycle to take on the Indian road, we’ll let him break it down for you.
He’ll take you through everything, from what accessories go well with this motorcycle to what one must watch out for when on the Versys 650. Enjoy 🙂 .
“”You’ll be mistaken if you think the Versys 650 is a small motorcycle.”
This Kawasaki is meaty enough to keep you full for a lifetime of comfortable riding, customized to your specific style.
Me, I’m more a sucker for exploration and seeing the country on tour. Piece by piece, I like to pick up areas which look promising on the map and then head out to check if my research was any good. Often times the research goes out of the window when on a major ride, so what I need then is a reliable machine which can get me through some serious stuff.
The 650cc parallel twin on the Versys is known to be a bullet proof engine. It has been used by Kawasaki on a number of its top-selling motorcycles like the Ninja 650 and the ER6N. Right there one knows that if maintained well, this engine will go a long long way. The gearbox is a tad notchy for my liking but one soon gets used to it.
 Take the Versys 650 almost anywhere!
Height-wise, the Versys 650 sits right in the middle. If you are too tall or too short, give it a proper test ride before you consider buying it. Lowering kits are available for this Versys but they are almost always underwhelming in performance and often lead to ground clearance issues, especially while riding two – up. For those who hover around 6ft or just under, the seating on the Versys is just right. The seat, well that’s relatively comfortable too.
All fueled up, she weighs in at just under 215 kgs.
Good suspension, that’s what makes the Versys an absolute game changer at this price point. The Versys boasts of Showa’s Separate Function front forks which are manually adjustable for Rebound and Pre-load. The rear mono-shock can be adjusted with just the twist of a knob, while seated even! Although I find the front a little soft for my liking, I am yet to fully explore all the possibilities these front forks offer. I’m pretty sure there’s a setting somewhere which will work perfectly – I just need to find it.

So then, on paper, the Versys 650 makes a very healthy case for itself in India. What more can one ask for then? Read on 🙂 .
In this Sport-Touring motorcycle segment, one major factor is the accessories one can mount on one’s steed. It is here that the Versys really excels. There are just so many options from reputed brands like SW Motech, Hepco Becker, Givi, Evotech and even Kawasaki themselves that one is truly spoilt for choice.
Each Versys then is sort of a blank canvas. A very capable and smart blank canvas.
One can take the Versys from being an intercity shuttle to a relatively tough machine, able to head out on to the road and even off it to a great extent. All one needs is the right set of accessories mounted and you can push the Versys 650 trail-side. On the trails, the 650 is a little top heavy if you’re running a full tank of gas but if you know what you’re doing, the motorcycle does well to get you across a dusty, gravel topped trail without any difficulty. One sore point, the ABS can’t be turned off. You’d think Kawasaki could have thrown in a switch for that just for good measure. Alas.
 Trail-side with the Versys 650!
The accessories you choose for your motorcycle need to be on point, always. They must be geared towards the kind of riding you intend to do.
Here’s a list, a brief description and a final GO or NO on the accessories we chose for the Versys 650.

Our accessories line-up:
Radiator Guard: By far the most necessary accessory for your Versys is the Radiator Guard that you mount. It must be light yet strong and be ready to take a subtle thrashing every time you hit a rough patch. On the Versys, this is important as the front tire tends to send small stones flying into the radiator as a routine. We chose the Evotech Performance Radiator Guard as it is extremely light (aluminium), an absolute breeze to mount and covers the full front of the Radiator assembly and not just the fins. An absolute GO from us.

Guard that Radiator Baby!
Also seen are the SW Motech Sump Guard, The Hepco-Becker Crash Bars and the SW Motech Fork & Swing-arm Sliders.
Engine/Sump Guard: Very important if you ride long distances on Indian roads. This guard protects the engine sump, the bottom of your exhaust system and more importantly, the vulnerable O2 sensor located just next to the engine sump. We chose the SW Motech Engine Guard as design wise this thing is a masterpiece. It presents an absolutely smooth surface to the ground so as not to catch on anything and cause damage. It’s made of aluminium, hence is lightweight and the rubber mounting bushes save you from any vibration/resonance on higher revs. GO for this.
Crash Bars: These cover the lower part of your front fairings and the sides of your engine heads. We chose the Hepco Becker Engine Guard for the Versys 650 as it provides very good coverage, has perfect clearances with the fairings and fits in seamlessly with the design language on the Versys 650. It is also very easy to bolt on. It is rock solid once bolted on correctly. An absolute GO from us!
Front Axle & Rear Swing-arm Sliders: We went with the SW Motech sliders as they seem to be the most polished and easily available sliders in India. Once on, you almost forget they’re there. GO.
Chain Lubrication: No one will tell you this before you buy a premium motorcycle but your chain is the key to a good ride. It is also a part which demands constant attention when riding religiously. We’ve gone ahead and mounted a Versys Edition Scottoiler V-System on the bike so as to keep our chain lubricated at all times. Giving us the peace of mind to carry on riding regardless of conditions. This is a GO if you don’t want the hassle of manually lubing your chain.
Note: The single sided lubricator, included with the Scottoiler, does an OK job. We suggest you use the dual sided lubricator for consistent lubrication.

Barkbusters hand-guards. As purposeful as they come!
Hand Guards: This is a requirement only if you tend to test your skills every now and then, which obviously increases your chances of taking a tumble or having your brake/clutch lever smacked out of shape. We got the Barkbusters mounted on our Versys with the VPS guard cover. Moreover we added the Barkbuster DRLs atop the cover to increase the visual footprint of the vehicle and add style to the overall look. The Hand Guards are a GO from us, the cover and DRLs you can do without.
 Dazzle Baby! The Denali D4 Auxiliary lamps.
Auxiliary Lighting: We think this is important. Also, it is one of the most confusing and cost intensive investments you can make on your vehicle. Important because in our riding conditions, one needs to be visible. Confusing because of the sheer number of choices out there – Baja, Denali, SW Motech and even Chinese knock-offs – it’s a tough call to take. We went with the trusted Denali D4s for our Versys and give it a healthy 7/10 on its daylight and night time performance. GO for the Denali D4s as they are simple, hardy and get the job done effortlessly. Just look at them dazzle!
Tank Pads: We’ve mounted the Tech Spec Snakeskin for the Versys 650. Industry leading, very good performance and absolute value for money. GO.
Tank Bag(s): We looked at them all and then settled for SW Motech. We got two – The Yukon 90 for when it gets wet and the Micro for short intercity bursts. Both mount to the same tank ring and can handle rough riding. The Yukon is ugly and a pain to use but is waterproof, the Micro is a breeze to use but is a tad small, even for something called a micro. SW Motech, Givi, Hepco Becker or even Giant loop, the choices are endless out there! GO.

Travel light, travel right! The SW Motech Aero Semi Rigid Panniers.
Luggage: We’ve mounted the SW Motech (Quick Lock EVO) Aero ABS Semi Rigid Panniers. These are cost effective, let you carry more weight (8 kgs per side) and look bloody amazing on the Versys 650. We give these a 10/10 for looks and an 8/10 for functionality. GO for it!
Side Stand Foot Enlarger: This is probably the most underrated accessory for your bike. Our SW Motech side stand foot enlarger helps keep the bike steady on soft terrain, like a boss. Be it on a beach or a mushy trail, the motorcycle stands steady.
OEM Accessories: The Kawasaki Gear Indicator and the DC Output Socket. The DC Socket is an absolute GO. You can live without the Gear Indicator, moreover it comes console integrated in the 2017 Versys 650.

That takes care of the accessories list on our Versys 650! Phew!
Why didn’t we go with OEM Kawasaki Accessories? Two reasons, one – they are freakishly expensive and two – they do not inspire confidence when on the road.
VERSYS 650 – ISSUES
Every machine has its quirks and the Kawasaki Versys 650 is known to have a few too.
- For starters, Kawasaki India has recently gone solo and split its operations with Bajaj Auto Ltd. This boils down to a smaller service network and in places service that’s not so great. Moreover, basic spares have become slightly tougher to come by.
- On the road, some riders claim to have bent their rims while riding over large pot holes at speed. We faced no such issues, yet.
- The stock tires (Dunlops) are geared towards delivering high mileage only. They perform badly on dry roads, wet roads, good roads and bad roads alike. We exchanged ours for Metzeler Sportec M7 RRs after the first thousand clicks.
- The stock headlamps are weak. You NEED an auxiliary light setup. Alternatively, we hear, Cyclops make good replacement LED Bulbs for the Versys.
- Versys 650’s jerky gearbox takes getting used to but becomes smoother after the second/third service.
- Typical parallel-twin behaviour – the handlebar vibrates when getting off the mark, can make a novice question his/her intuition when new to the motorcycle.
- The Horn is puny, in India, one needs to get something with more punch.
- Lack of a healthy exhaust note. The Versys 650 sounds like a refrigerator. Sorry.
If you notice, I’m picking nits here. In the end, the Versys 650 is a damn fine proposition for Indian roads. 😉

VERSYS 650 – THINGS TO LOVE!
- An absolutely bulletproof engine and a suspension setup which is sublime.
- It comes touring ready. If you had to, you could take the Versys 650 out of the box and hit the road straight away. It would do well.
- Short running in period of 1000 kilometers. After that, get new oil and kiss 9000 rpm all you want.
- Comfortable service intervals of 5000 kilometers. This will irk the mile-munchers but most riders will be fine.
- Acceptable cost of maintenance. It’s not a super expensive vehicle to keep in ride-ready condition.
Overall the Versys 650 is damn easy to live with.
 Easy Kawasaki!
This motorcycle provides the perfect mix of reliability, mechanical prowess and is very accessory friendly.
The Versys 650 delivers decent power, nothing crazy or too intimidating, so as to get your soul the sport tourer it needs!””
Happy riding!
We hope you’ve enjoyed our story on the Versys 650 from Kawasaki. Tell us what you feel about this motorcycle and whether you would consider buying it.
If you already own one, let us know how it’s going for you and how far you’ve travelled on your steed!
Connect with us on Facebook, Twitter or Instagram and let’s start a conversation!
Versys 650 ABS – 2017 Update
There’s a new kid on the block and it’s more or less the same as the old kid.
The New 2017 Kawasaki Versys 650 is now green in colour, has a console integrated gear indicator, sports a giant Versys decal on the fairing and that’s about it. The Engine (now BS IV compliant), Gearbox and Suspension remain the same on the new Versys as well.
Disclosure: This is not a sponsored post. Views represented are personal opinions of the rider based on his experience with the vehicle showcased.
Vehicle: The Versys 650 ABS (2016)
Photography for this piece has been delivered by our Lead Photographer – Nipun Srivastava and assistant photographer Kaustubh Khare.
Model: Our resident adventurer – Nipun Srivastava.
